Mechanized Plaster
Механизированная штукатурка стен в Бобруйске | Быстро, качественно!
Механизированная штукатурка стен в Бобруйске: быстро, качественно и эффективно. Гладкие стены за короткие сроки с использованием современного оборудования.

Механизированная штукатурка стен в Бобруйске

from
360
Best Price Guarantee

Best price guarantee on the market

We'll give you a discount if you find it cheaper

  • icon
  • icon
  • icon
Applying plaster
Applying plaster
Механизированная штукатурка стен в Бобруйске — это передовая технология, которая активно внедряется в строительной отрасли. Этот метод значительно ускоряет процесс отделки и улучшает качество покрытия по сравнению с традиционными ручными методами. В данной статье мы рассмотрим основные преимущества и недостатки механизированной штукатурки, этапы её выполнения, используемое оборудование и материалы.

Advantages of mechanized plaster

  1. Speed of work completion. One of the main advantages of mechanized plaster is its high productivity. The use of special plaster stations allows you to apply the solution to the walls several times faster than with the manual method. This is especially important for large volumes of work, when deadlines play a critical role.
  2. Coverage quality. Mechanized application ensures uniform distribution of the solution over the entire wall surface, which minimizes the likelihood of defects and improves the adhesion (adhesion) of the material to the substrate. This allows you to achieve a smooth and even surface, which is especially important for further wall decoration.
  3. Saving materials. Thanks to the precise dosage of the mortar and its uniform distribution, mechanized plaster reduces the consumption of materials. This not only reduces costs, but also reduces waste, which makes this method more environmentally friendly.
  4. Reduced labor costs. The use of plaster stations reduces the physical strain on workers, which reduces the risk of injury and increases overall productivity. In addition, one operator can serve several stations simultaneously, which further increases the efficiency of work.
alignment
alignment
Mechanized Plaster
Mechanized Plaster

Disadvantages of mechanized plaster

Despite its many advantages, mechanized plaster also has its drawbacks, which must be taken into account when choosing a finishing method.
  1. High cost of equipment. The initial cost of purchasing a plastering station and the necessary tools can be quite high. However, these costs are recouped by increasing productivity and saving materials.
  2. Surface preparation requirements. For high-quality application of mechanized plaster, it is necessary to thoroughly prepare the substrate: clean it from dust, dirt and oil stains, and if necessary, treat it with a primer. An untreated surface can reduce the quality of the coating and shorten its service life.
  3. Restrictions on use. Mechanized plaster is not always suitable for finishing complex architectural elements, small details and hard-to-reach places. In such cases, additional manual modification may be required.

Stages of performing mechanized plaster

The process of mechanized plastering includes several main stages, each of which has its own characteristics and requires certain skills and knowledge.
  1. Preparation of the base. At this stage, it is necessary to clean the wall surface from old finishes, dust, dirt and other contaminants. If there are cracks or potholes, they should be repaired and the surface treated with a primer to improve adhesion.
  2. Installing beacons. Beacons are installed to control the thickness of the plaster layer and ensure the evenness of the coating. They must be placed on the wall in steps of about 1 meter, fixing them with a solution or special fasteners.
  3. Preparation of the solution. In the plaster station, a mortar is prepared, which is fed to the wall under pressure. It is important to choose the correct composition of the mixture, taking into account the type of substrate and operating conditions. Cement-sand, gypsum and lime mortars are most often used.
  4. Applying the solution. With the help of a plaster station, the solution is applied to the wall under pressure. The operator must distribute the mixture evenly by moving the nozzle of the station up and down and from left to right. The thickness of the plaster layer is usually 10-15 mm.
  5. Surface alignment. After applying the solution, it is necessary to level the surface with a rule and a grater. This allows you to eliminate excess material and create a smooth surface.
  6. Finishing treatment. At the final stage, the surface is treated with a spatula and a sponge grater to give it a final smoothness. After the plaster dries, you can start further finishing: painting, wallpapering, etc.
Mechanized Plaster Application
Mechanized Plastering Process

Equipment and materials for mechanized plastering

Для выполнения механизированной штукатурки стен в Бобруйске используется специальное оборудование и инструменты, которые обеспечивают высокое качество и скорость выполнения работ.
  1. Plaster stations. The main equipment for mechanized plastering is plastering stations. They are installations consisting of a solution tank, pump, hose and nozzle. The most popular models are the PFT G4, Putzmeister MP25 and Kaleta 5.
  2. Mixers and concrete mixers. Mixers and concrete mixers are used to prepare the mortar, which ensure uniformity of the mixture and accurate dosing of components.
  3. Alignment tools. Various tools are used to level the surface: rules, graters, spatulas, and sponge graters. They help to create an even and smooth surface.
  4. Materials. For mechanized plaster, various types of mortars are used: cement-sand, gypsum and lime. The choice of material depends on the type of substrate, operating conditions, and finish requirements.

Conclusion

Механизированная штукатурка стен в Бобруйске — это современный и эффективный метод отделки, который позволяет значительно ускорить процесс и улучшить качество покрытия. Несмотря на некоторые недостатки и ограничения, этот способ активно внедряется в строительной отрасли благодаря своим многочисленным преимуществам: высокой производительности, экономии материалов, снижению трудозатрат и улучшению качества поверхности. Использование механизированной штукатурки требует определенных навыков и знаний, а также наличия специального оборудования и инструментов. Однако правильная подготовка и соблюдение технологии позволяют добиться отличных результатов и создать долговечное и эстетичное покрытие.
Mechanized Plaster Finished Walls

Как будет проходить механизированная штукатурка стен в Бобруйске

1. Surface preparation

We start our work with a thorough preparation of the substrate to ensure high-quality application of plaster:
  • Surface cleaning. We remove the old coating, dust, dirt and any other contamination.
  • Elimination of defects. We remove weak, crumbling areas, fill cracks and potholes with suitable materials.
  • Wall priming. We apply a primer to improve the adhesion of the plaster solution and strengthen the base.

2. Installing beacons

To ensure the smoothness of the plaster layer, we install lighthouses:
  • Placing lighthouses. We place the beacons vertically in increments of about 1 meter.
  • Bracing. We fix the beacons on the wall with a solution or special fasteners.
  • Checking for evenness. We control the verticality and evenness of lighthouses using the level.

3. Preparation of the solution

At this stage, we are preparing a plaster solution that meets the project requirements:
  • Loading the mix. We will load the dry mix into the hopper of the plaster station.
  • Mixing. We prepare the solution, following the manufacturer's instructions, to get a homogeneous and high-quality mixture.

4. Applying plaster

The process of applying plaster mortar is performed using specialized equipment:
  • Setting up a station. We are setting up a plaster station for supplying mortar under pressure.
  • Uniform application. The operator distributes the solution evenly over the wall by moving the nozzle of the station vertically and horizontally.
  • Layer thickness control. We provide the required thickness of the plaster layer, usually from 10 to 15 mm.

5. Surface alignment

After applying the plaster solution, we perform surface leveling:
  • Using rules. Using the rules, we level the applied solution, eliminating excess material.
  • Grater and spatula. We use graters and spatulas to create a smooth and even surface.

6. Finishing treatment

We finish the work with finishing to achieve the perfect result:
  • Smoothness of the coating. We use sponge graters to give the surface a final smoothness.
  • Preparation for further finishing. After the plaster dries, we proceed to further finishing: painting, wallpapering and other types of decorative finishing.
Our company guarantees high quality of mechanized plastering due to the professionalism of our employees and the use of modern equipment. We provide smooth and long-lasting coatings that serve as a solid foundation for any finish.

Механизированная штукатурка стен в Бобруйске: Современные технологии и преимущества

Механизированная штукатурка стен в Бобруйске – это инновационная технология в строительстве, которая значительно упрощает процесс отделки стен и улучшает качество конечного результата. В последние годы она приобретает всё большую популярность среди профессиональных строителей и домашних мастеров. В этой статье мы рассмотрим основные аспекты механизированной штукатурки, её преимущества, процесс выполнения и используемое оборудование.

1. What is mechanized plaster?

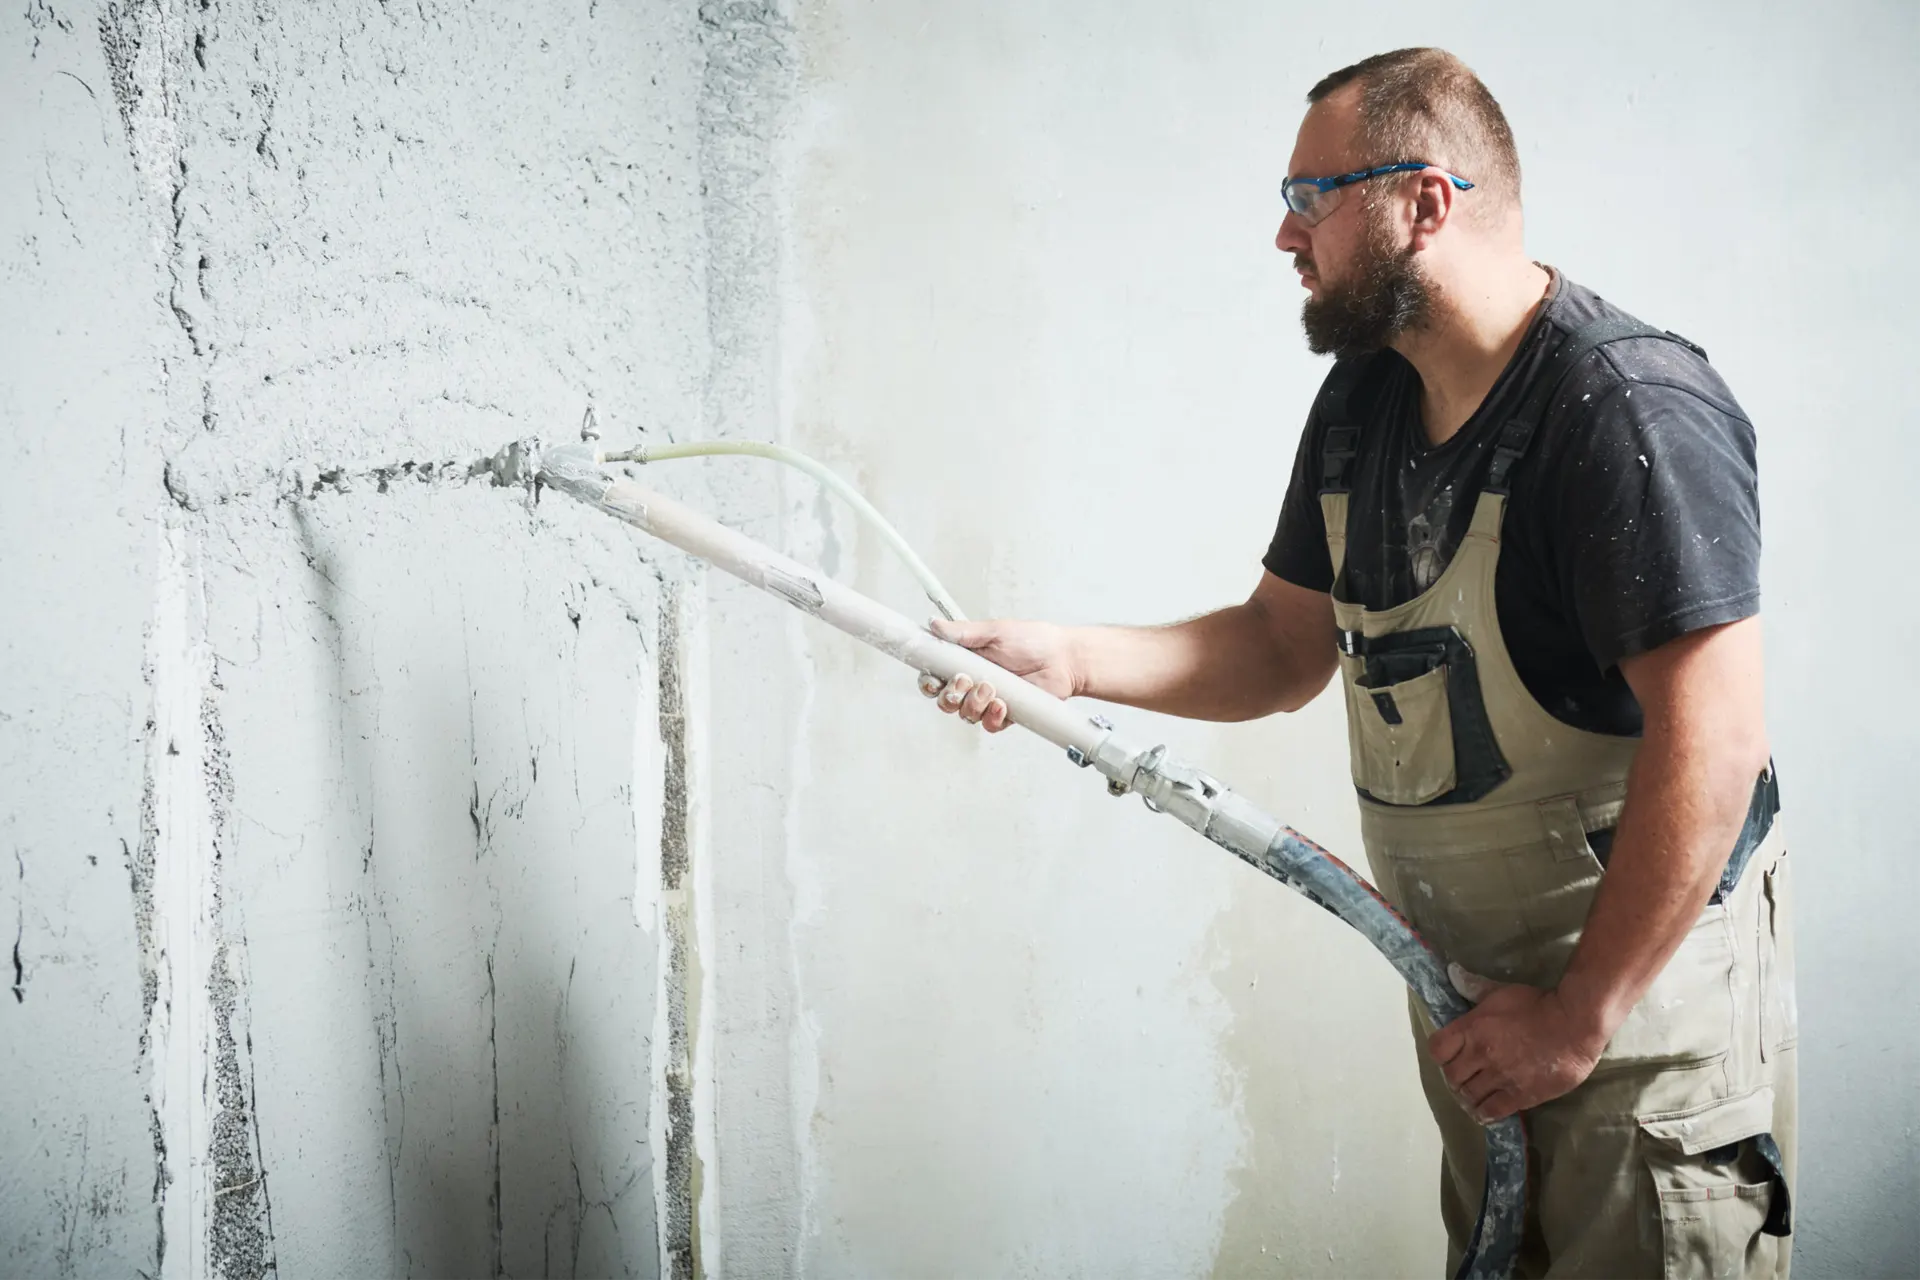
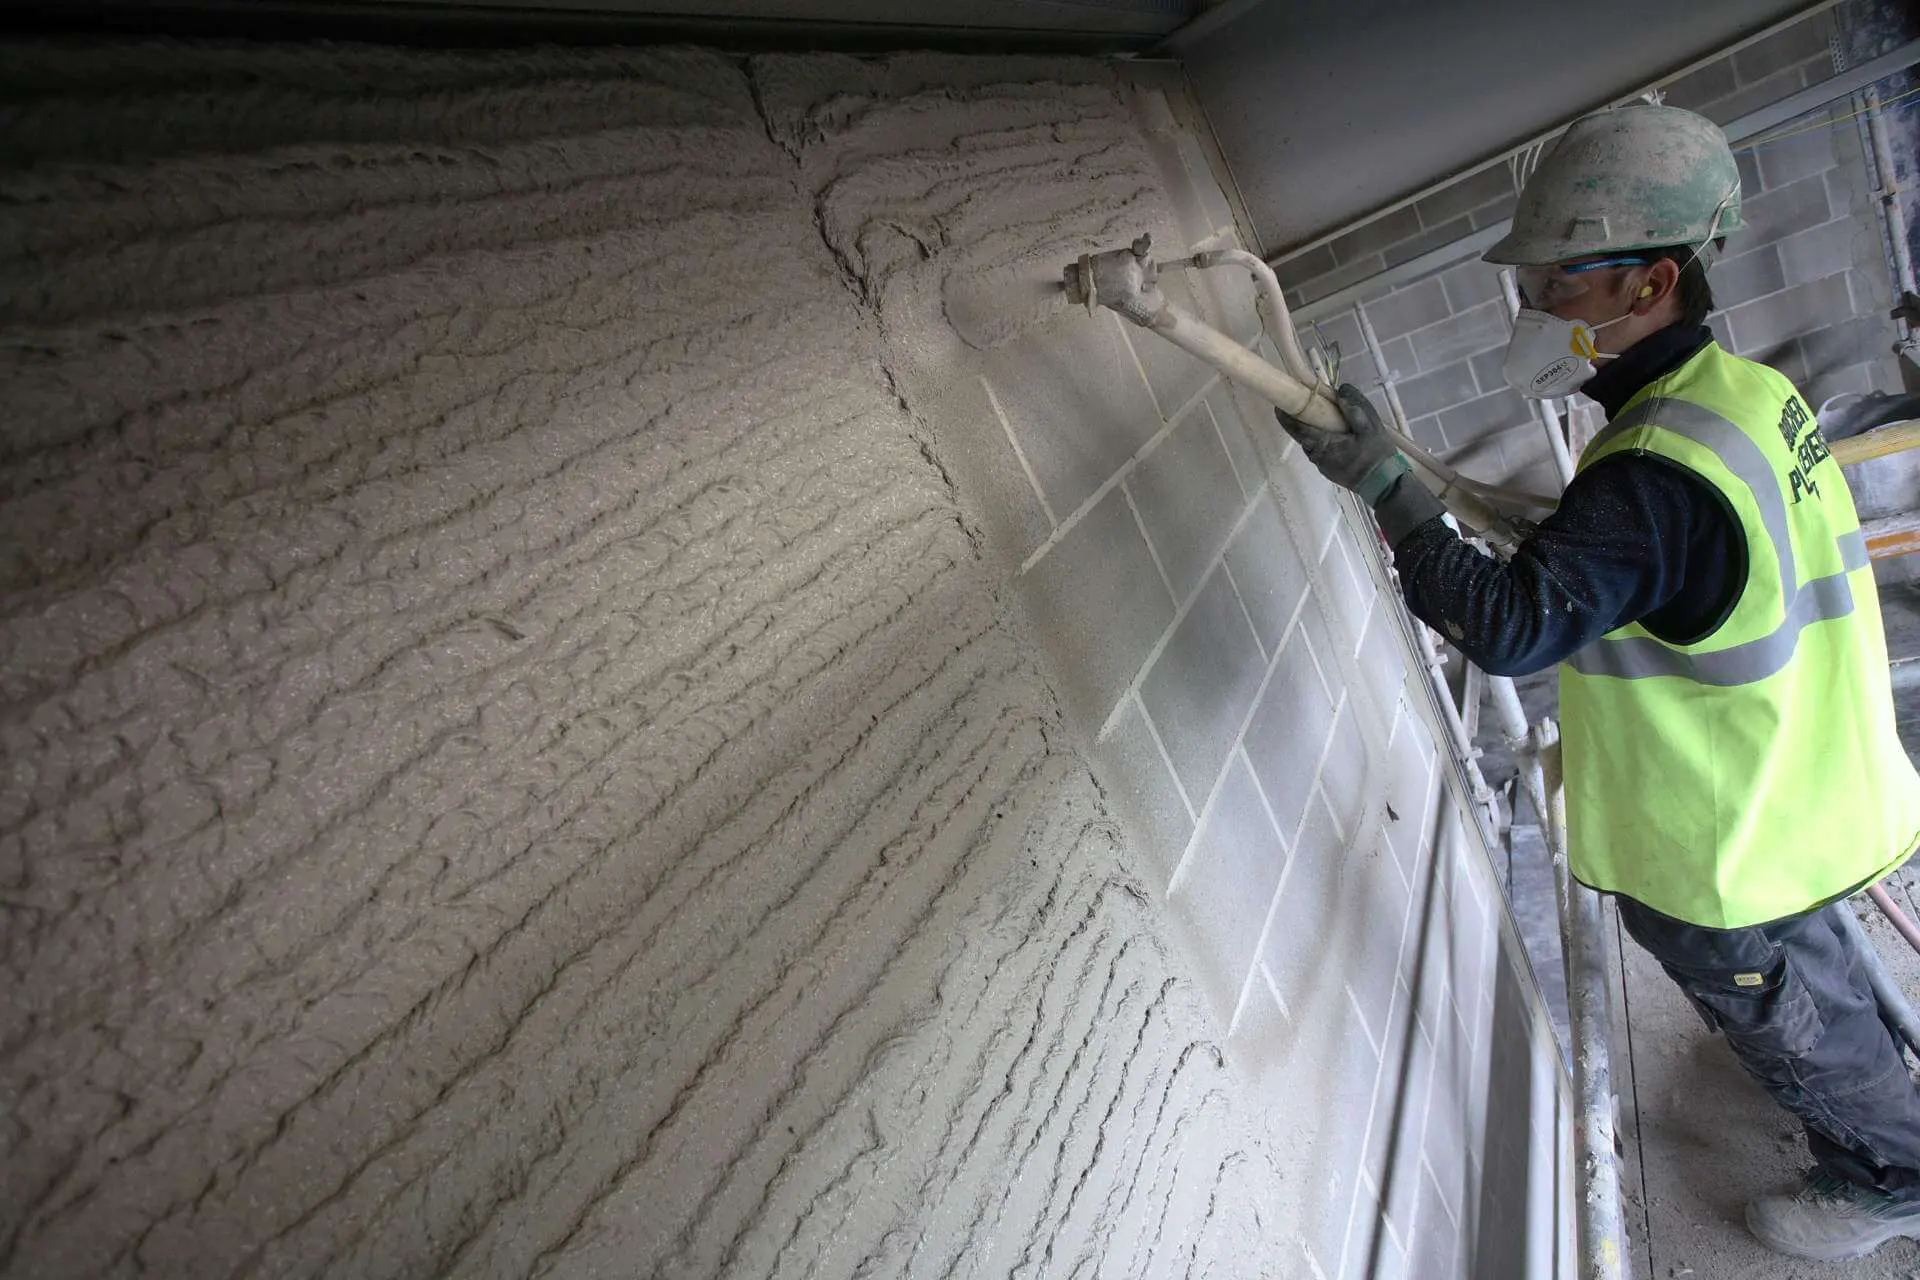
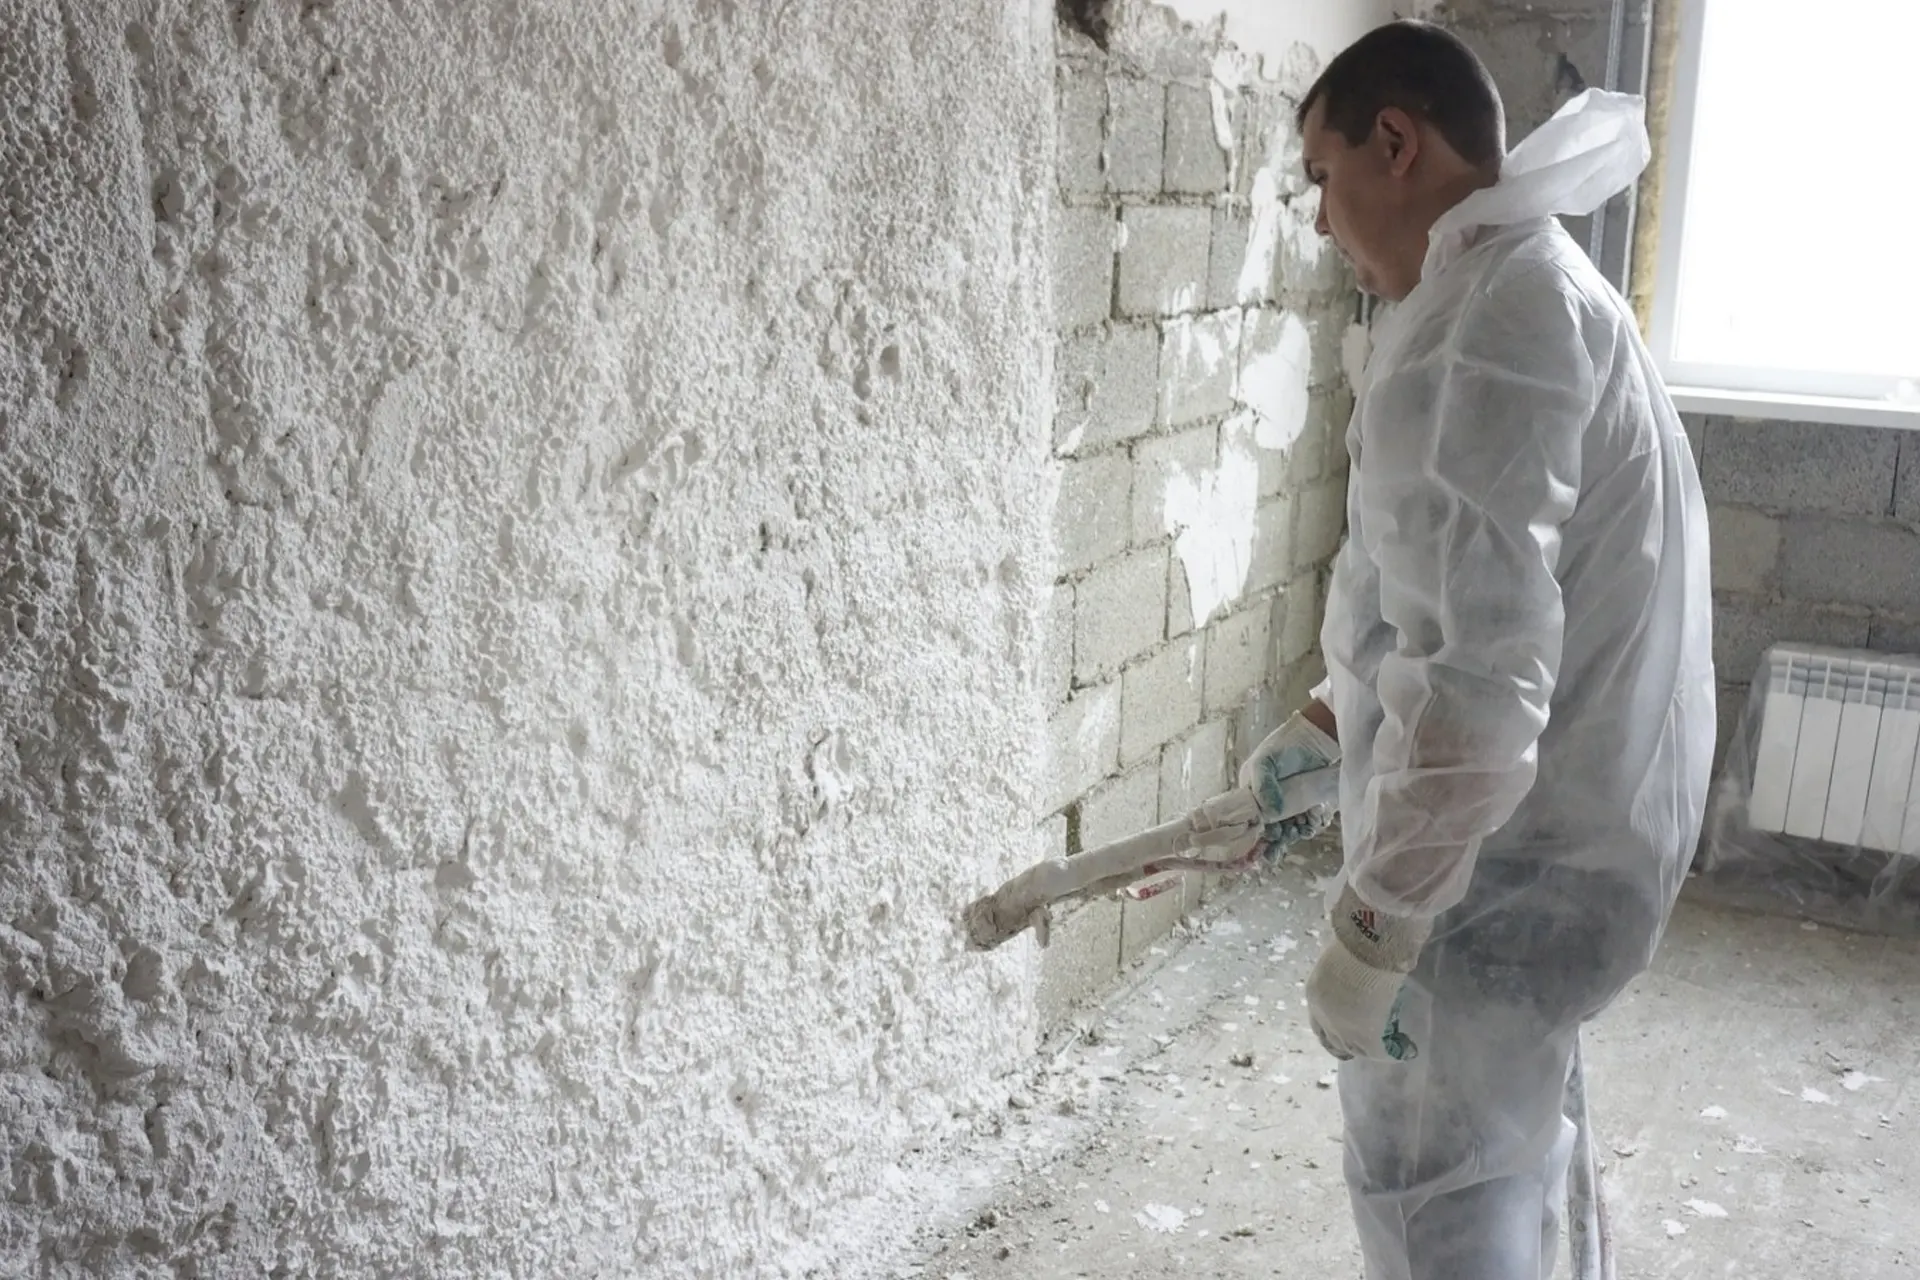
Mechanized plaster is a method of applying plaster mortar to walls using special machines and aggregates. Unlike traditional manual plastering, where the mortar is applied with a spatula and trowel, the mechanized method involves the use of plaster stations that automatically mix the mortar and apply it under pressure to the surface to be treated.

2. Advantages of mechanized plaster

Mechanized plaster has a number of significant advantages over the manual method:

  1. Speed of operation: Thanks to the use of machines, the process of applying plaster is accelerated several times. This is especially important at large facilities, where the speed of work execution plays a key role.
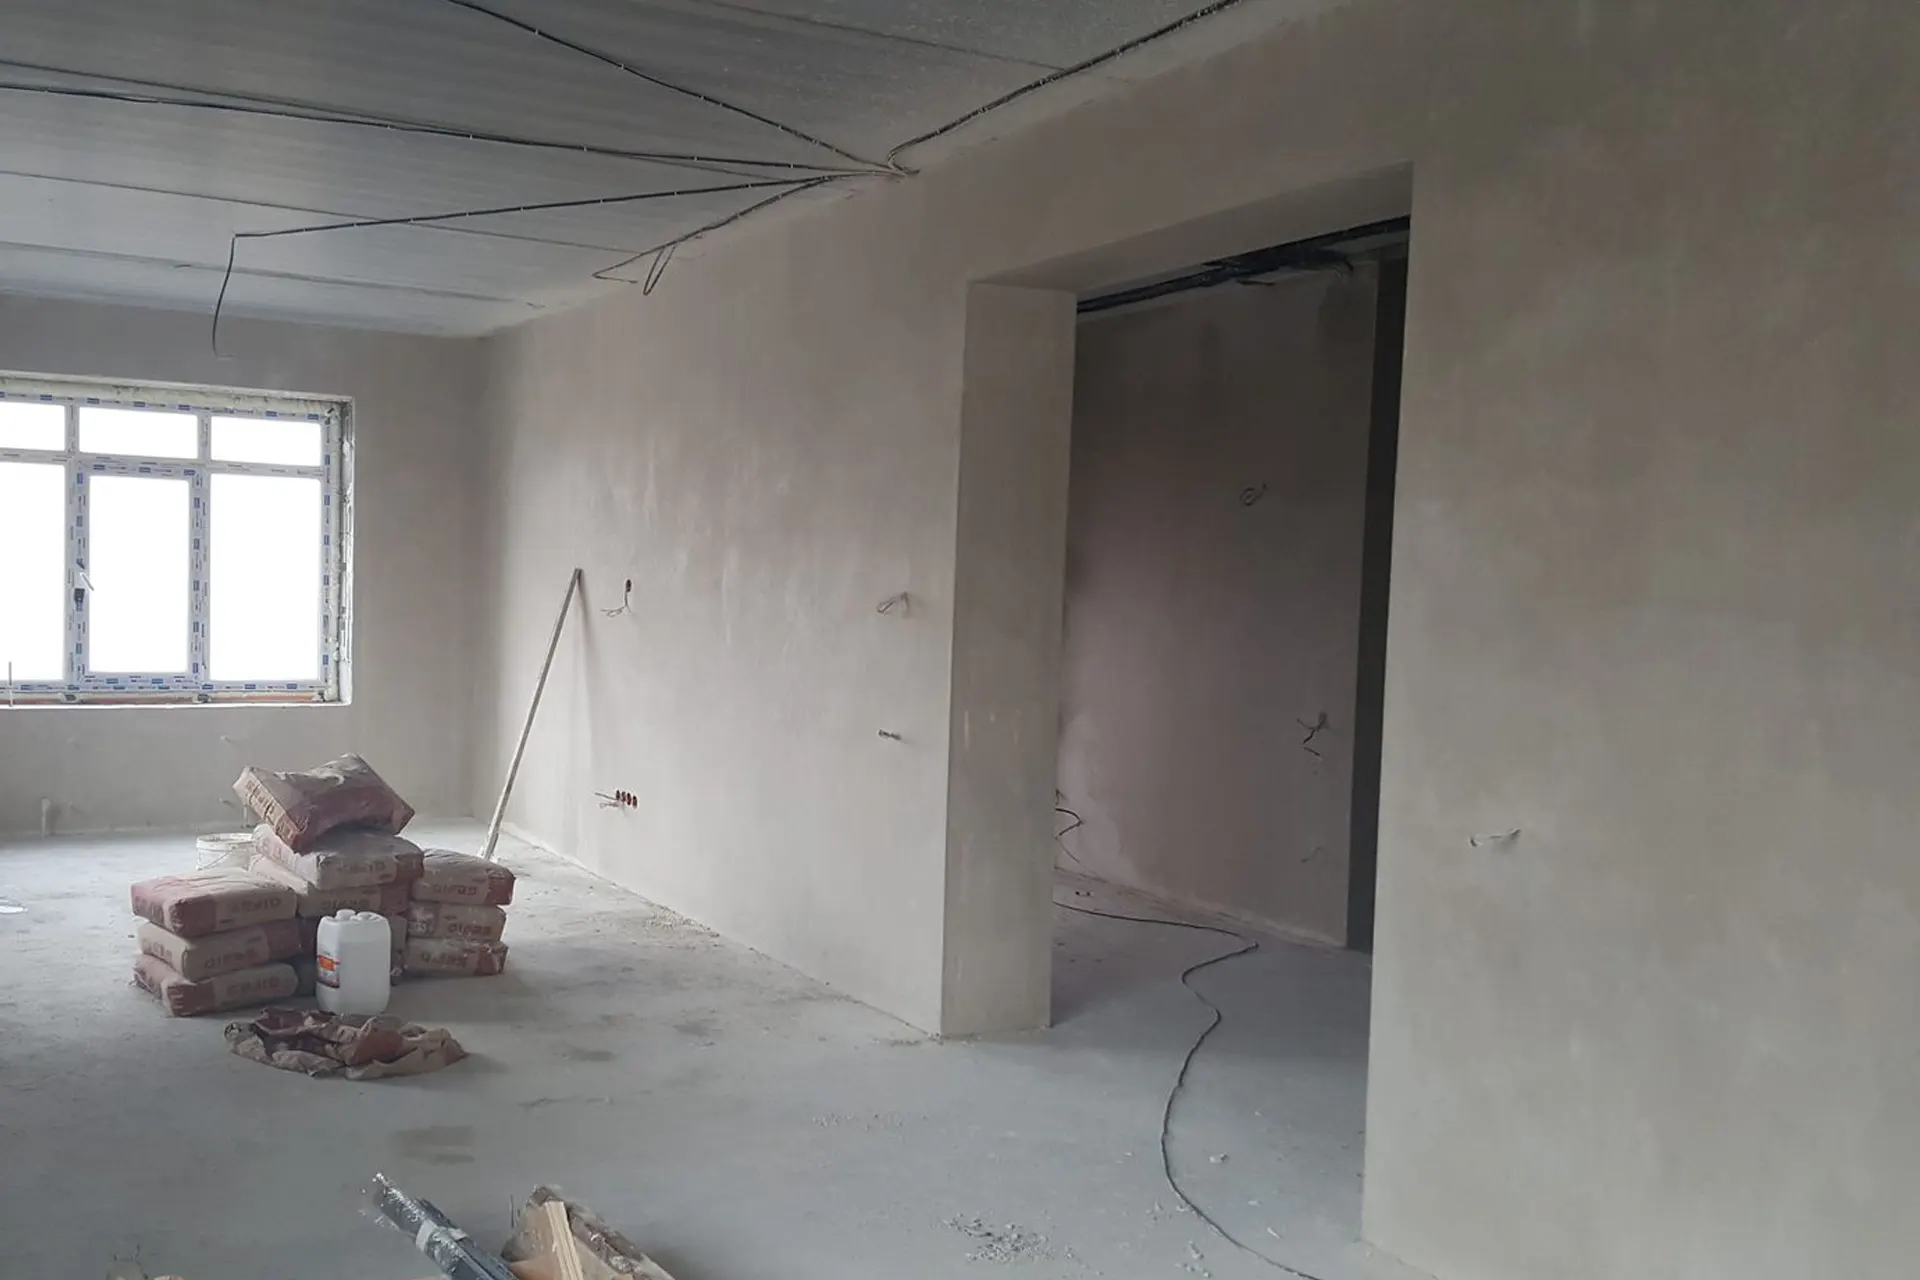
  2. Coverage quality: Mechanized application allows for a more uniform and smooth coating without visible transitions and irregularities, which significantly improves the appearance of the walls.
  3. Saving materials: Machines allow more precise dosing of the solution, which reduces its consumption and, consequently, the cost of materials.
  4. Reduced labor costs: The use of machines reduces the physical strain on workers, which increases their productivity and reduces the likelihood of errors and defects.
  5. Versatility: Mechanized plaster is suitable for processing various types of surfaces – brick, concrete, foam concrete and others.

3. Equipment for mechanized plastering

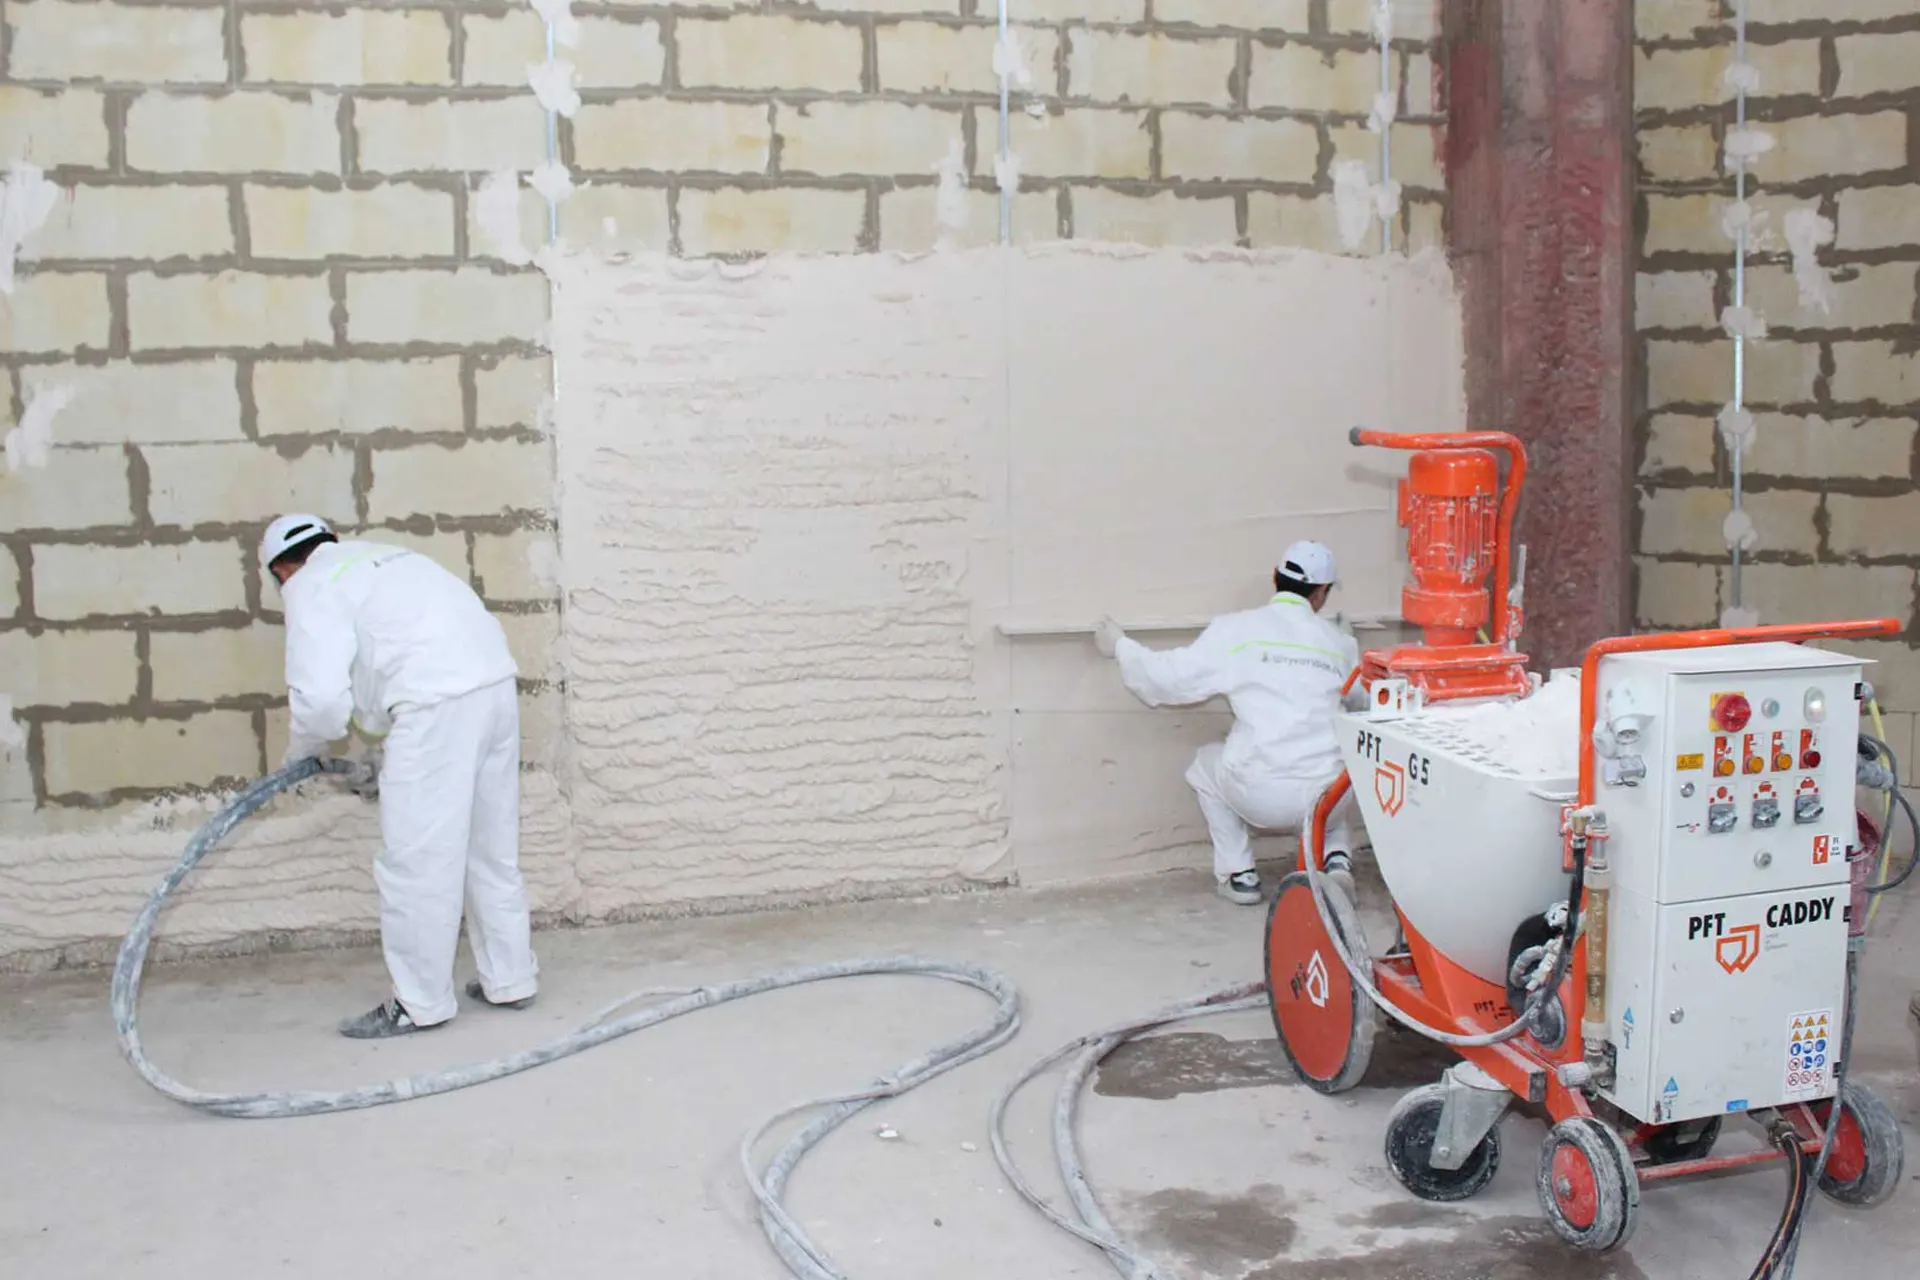
Special machines – plastering stations-are used to perform mechanized plastering. They come in various types, but the basic design elements are similar:

  1. Dry mix bin: It is filled with dry plaster mixture, which is then fed into the mixing chamber.
  2. Mixing chamber: In this unit, the dry mix is mixed with water until a homogeneous plaster solution is formed.
  3. Pump: Serves to supply the finished solution under pressure through a hose to the sprayer.
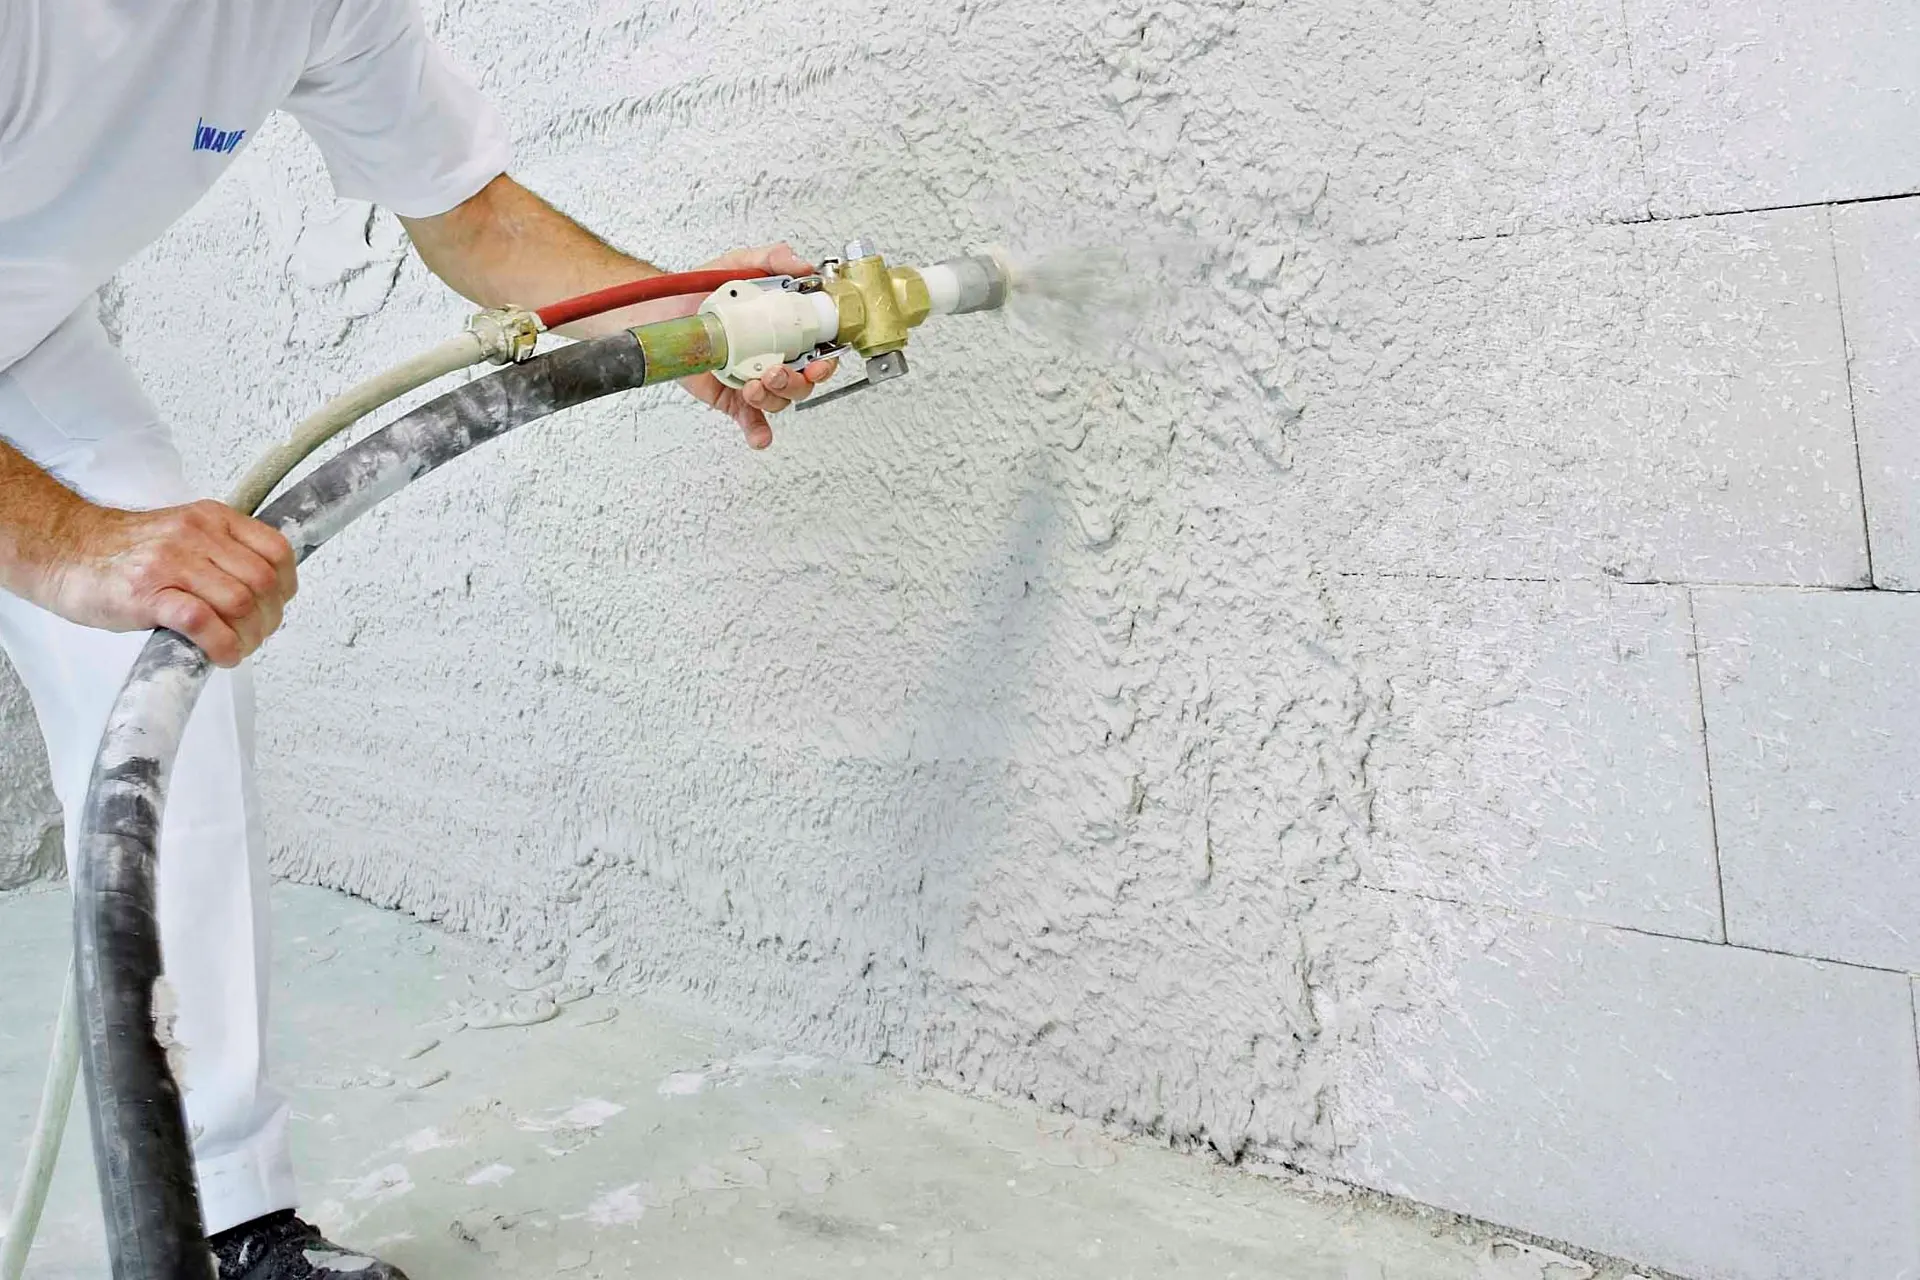
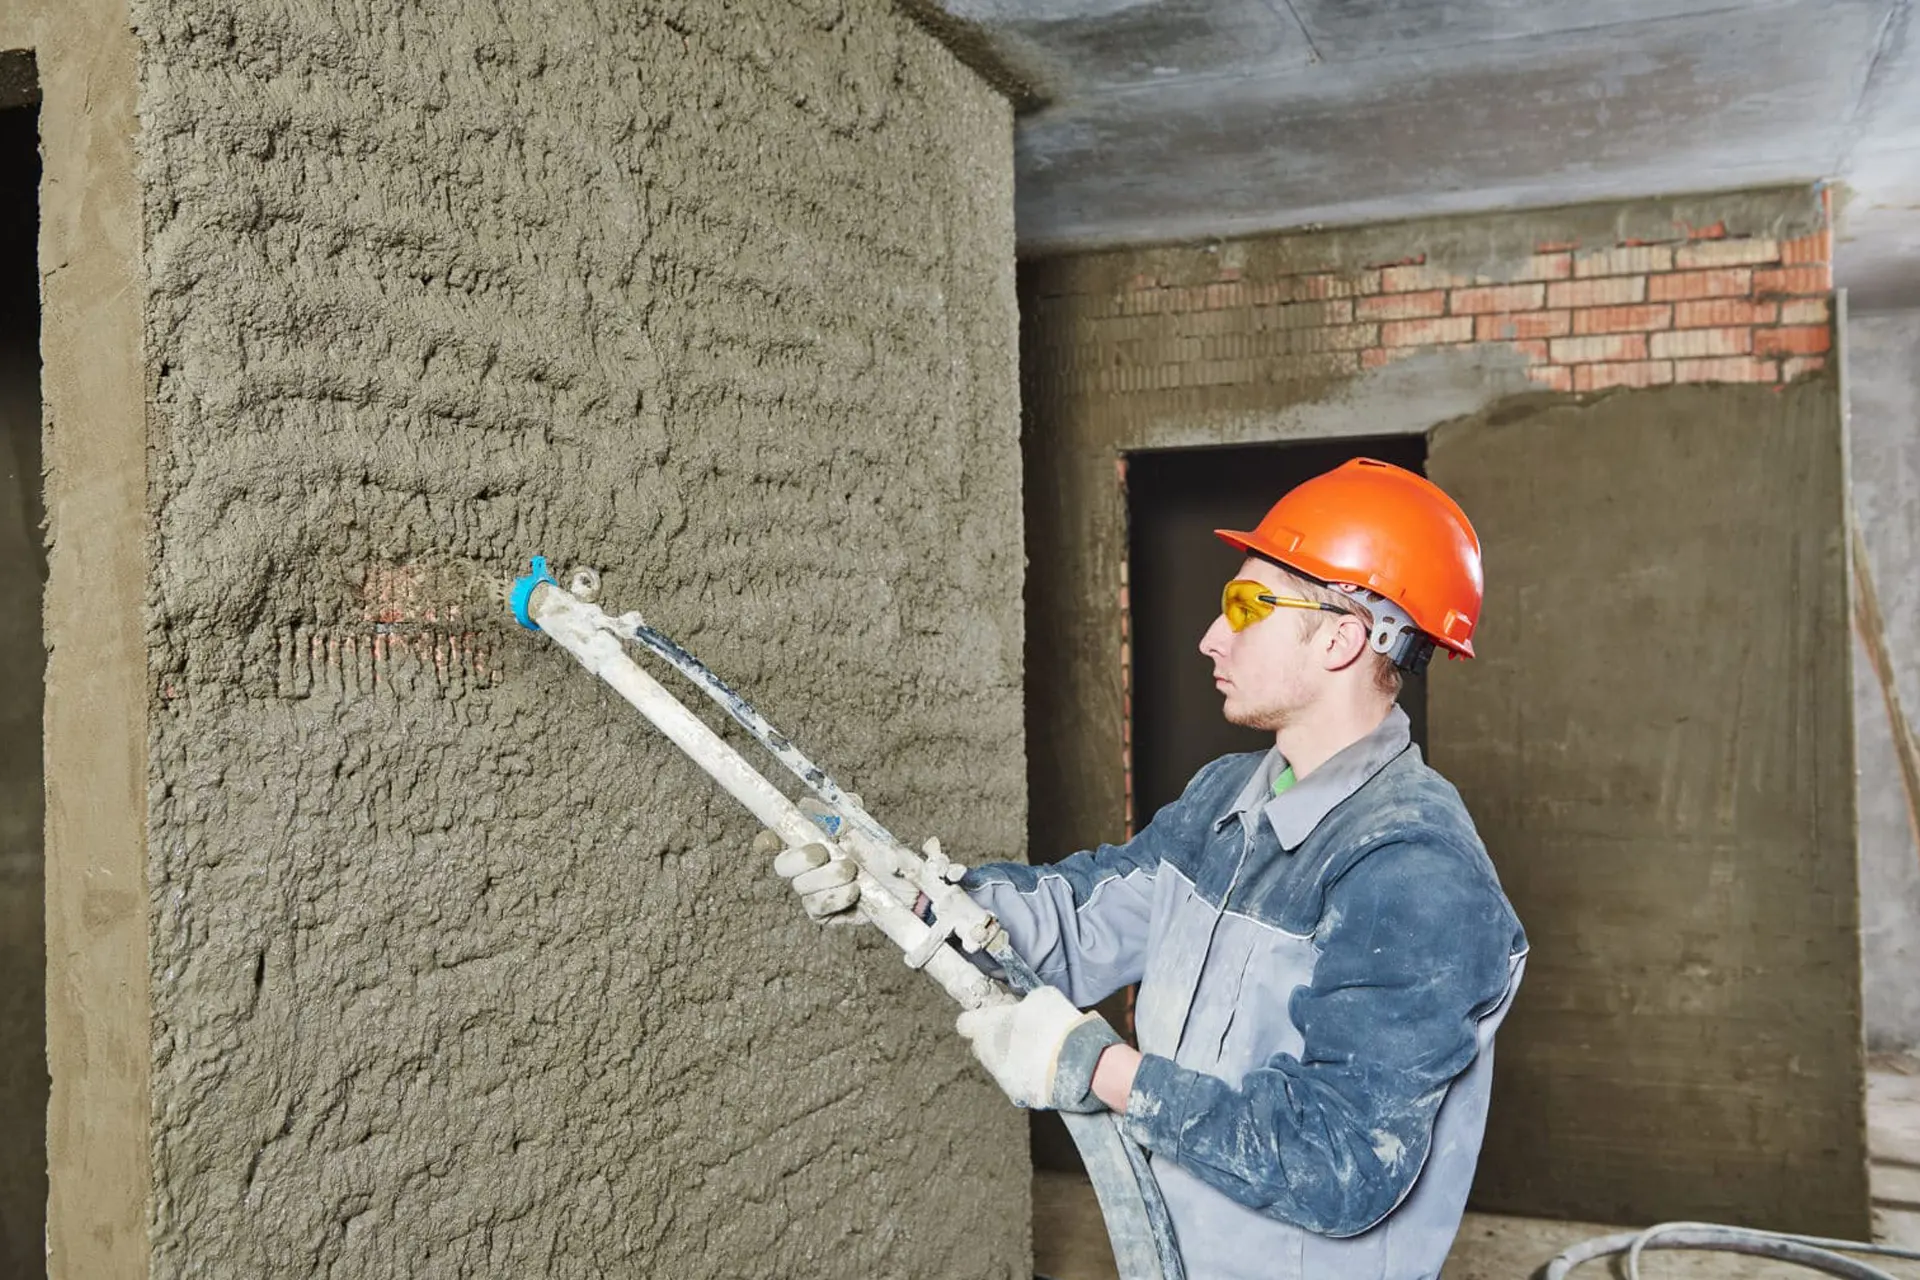
  4. Spray Gun: A device for applying mortar evenly to the wall surface.
  5. Management system: Includes panels and remotes with which the operator controls the operation of the station and adjusts the parameters of applying the solution.

4. The process of performing mechanized plastering

The process of mechanized plastering includes several stages::

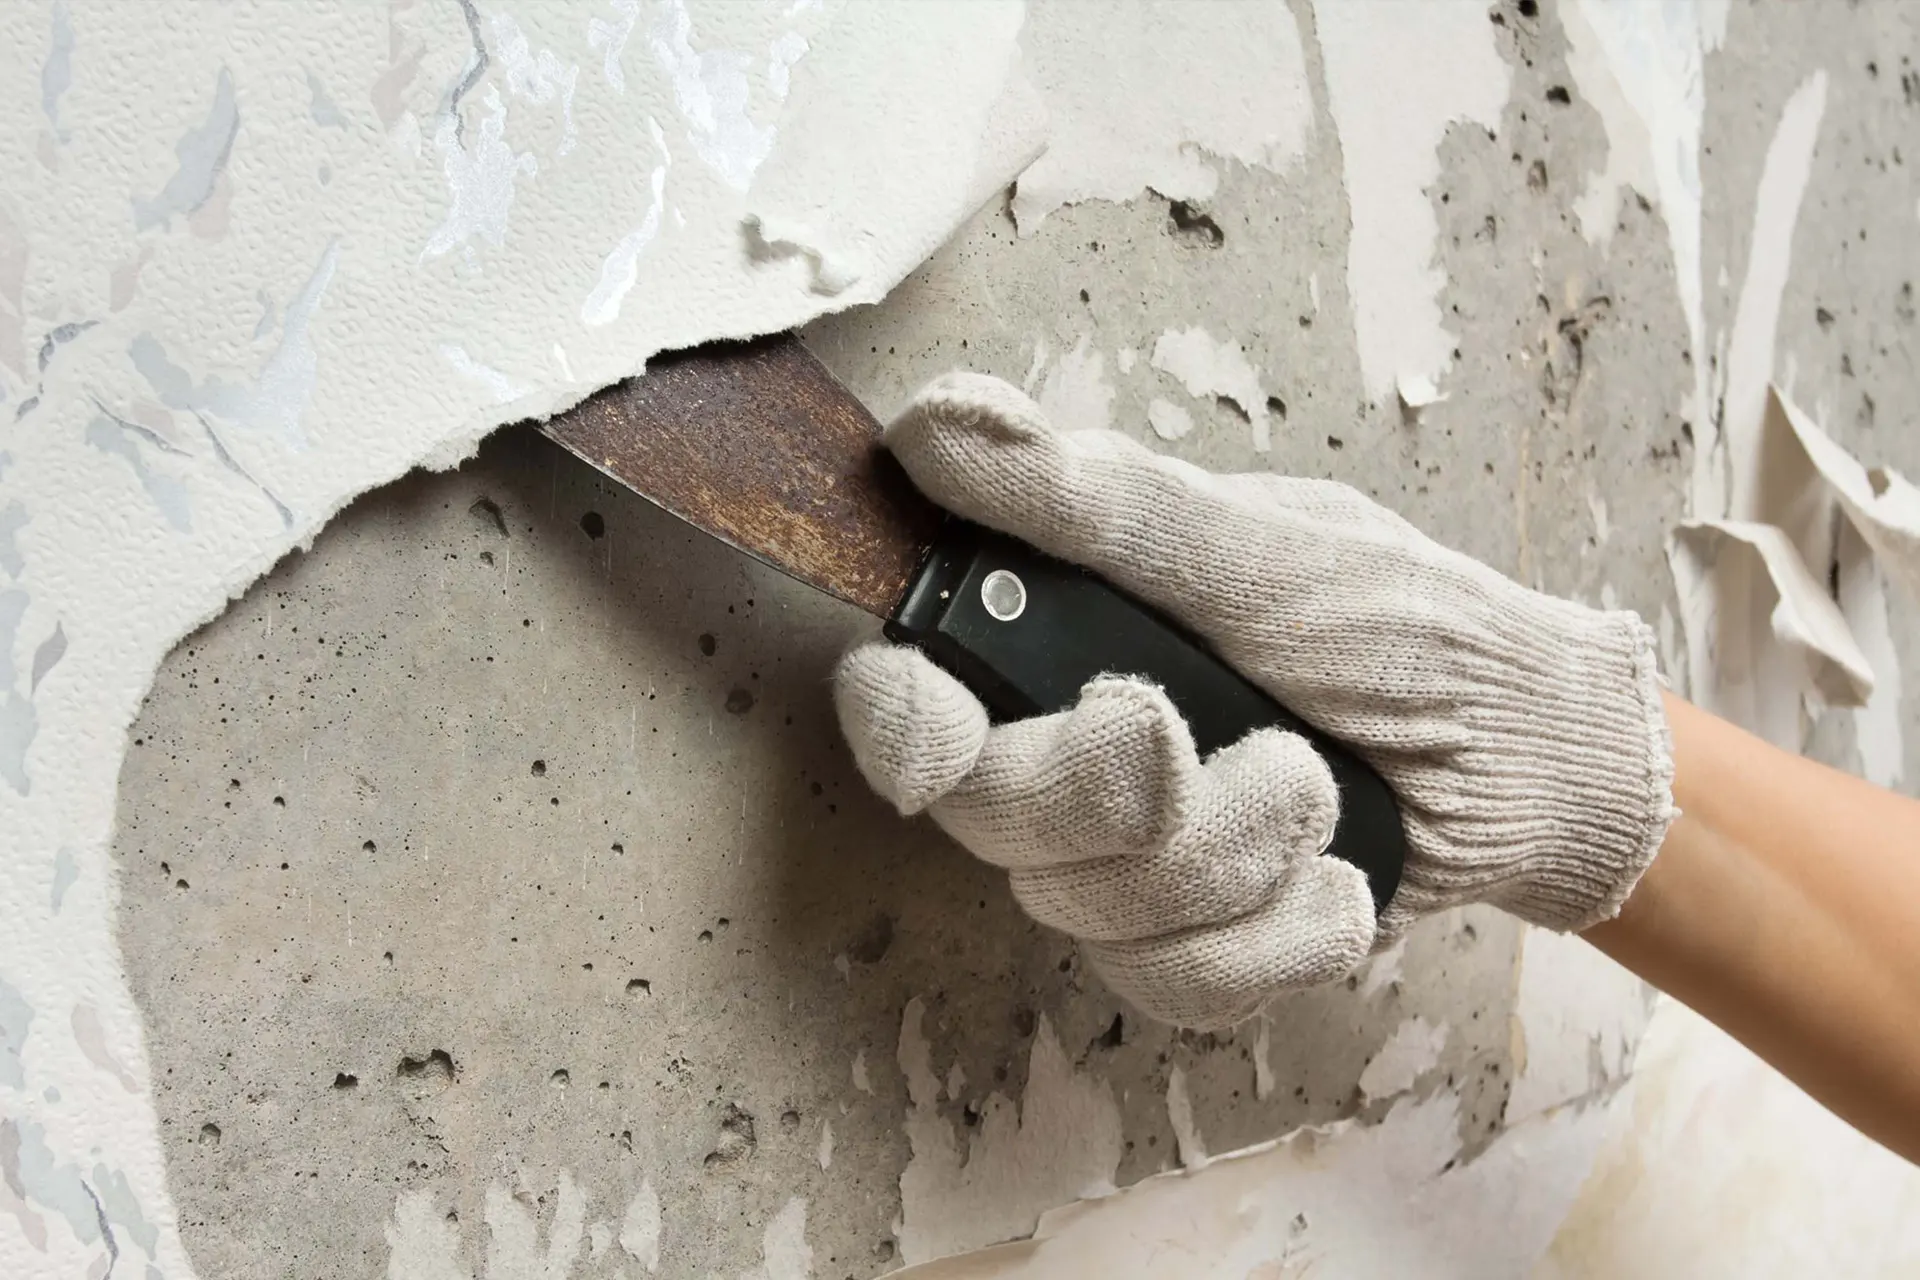
  1. Surface preparation: The wall surface is cleaned of dust, dirt, old plaster and other contaminants. If necessary, primers and adhesive compounds are applied.
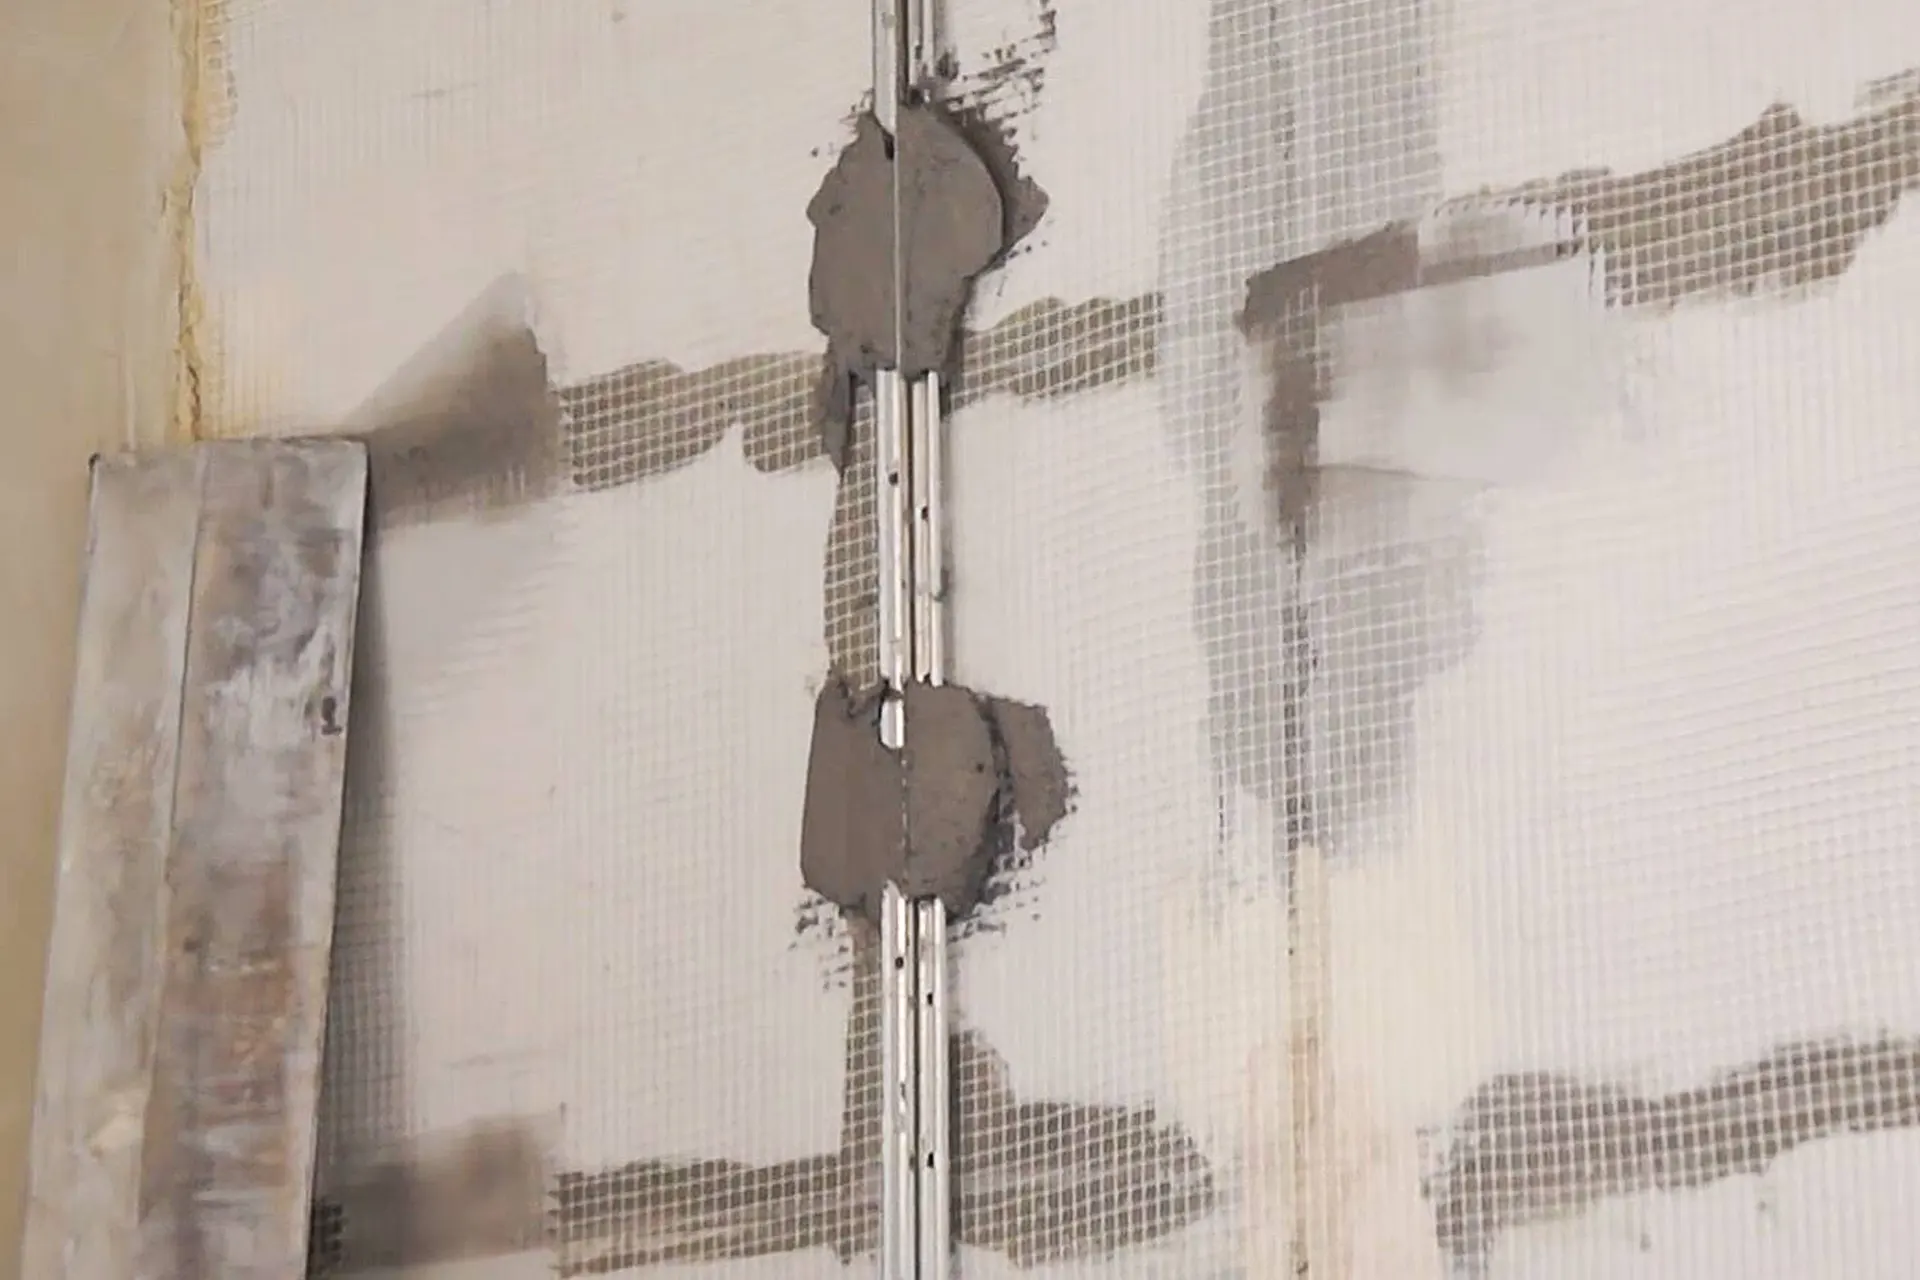
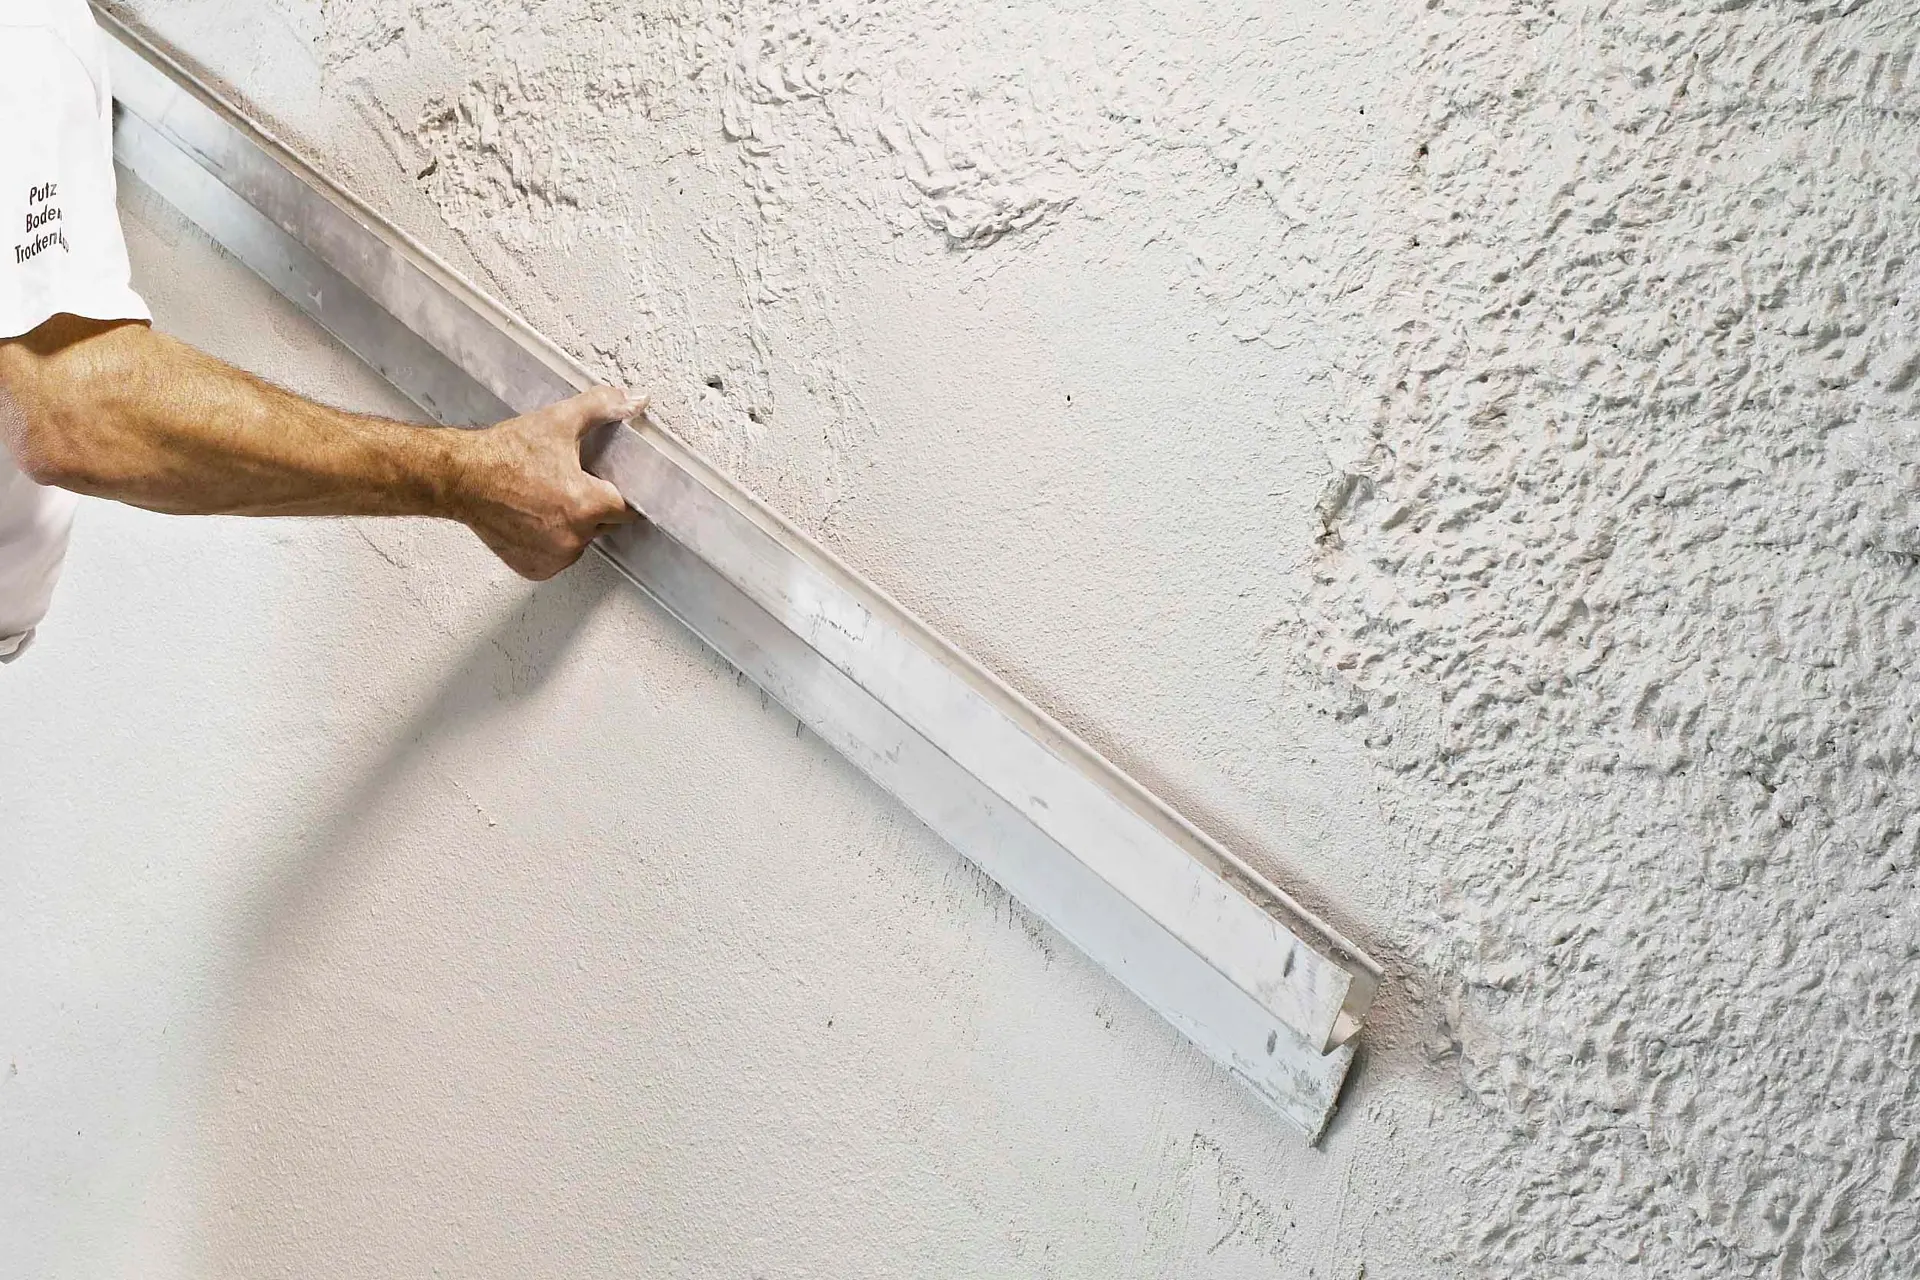
  2. Installing beacons: To ensure the smoothness of the plaster layer, beacons are installed on the wall – special guide profiles that set the level of the future coating.
  3. Preparation of the solution: The station hopper is filled with dry mix, which is mixed with water until a homogeneous solution is obtained.
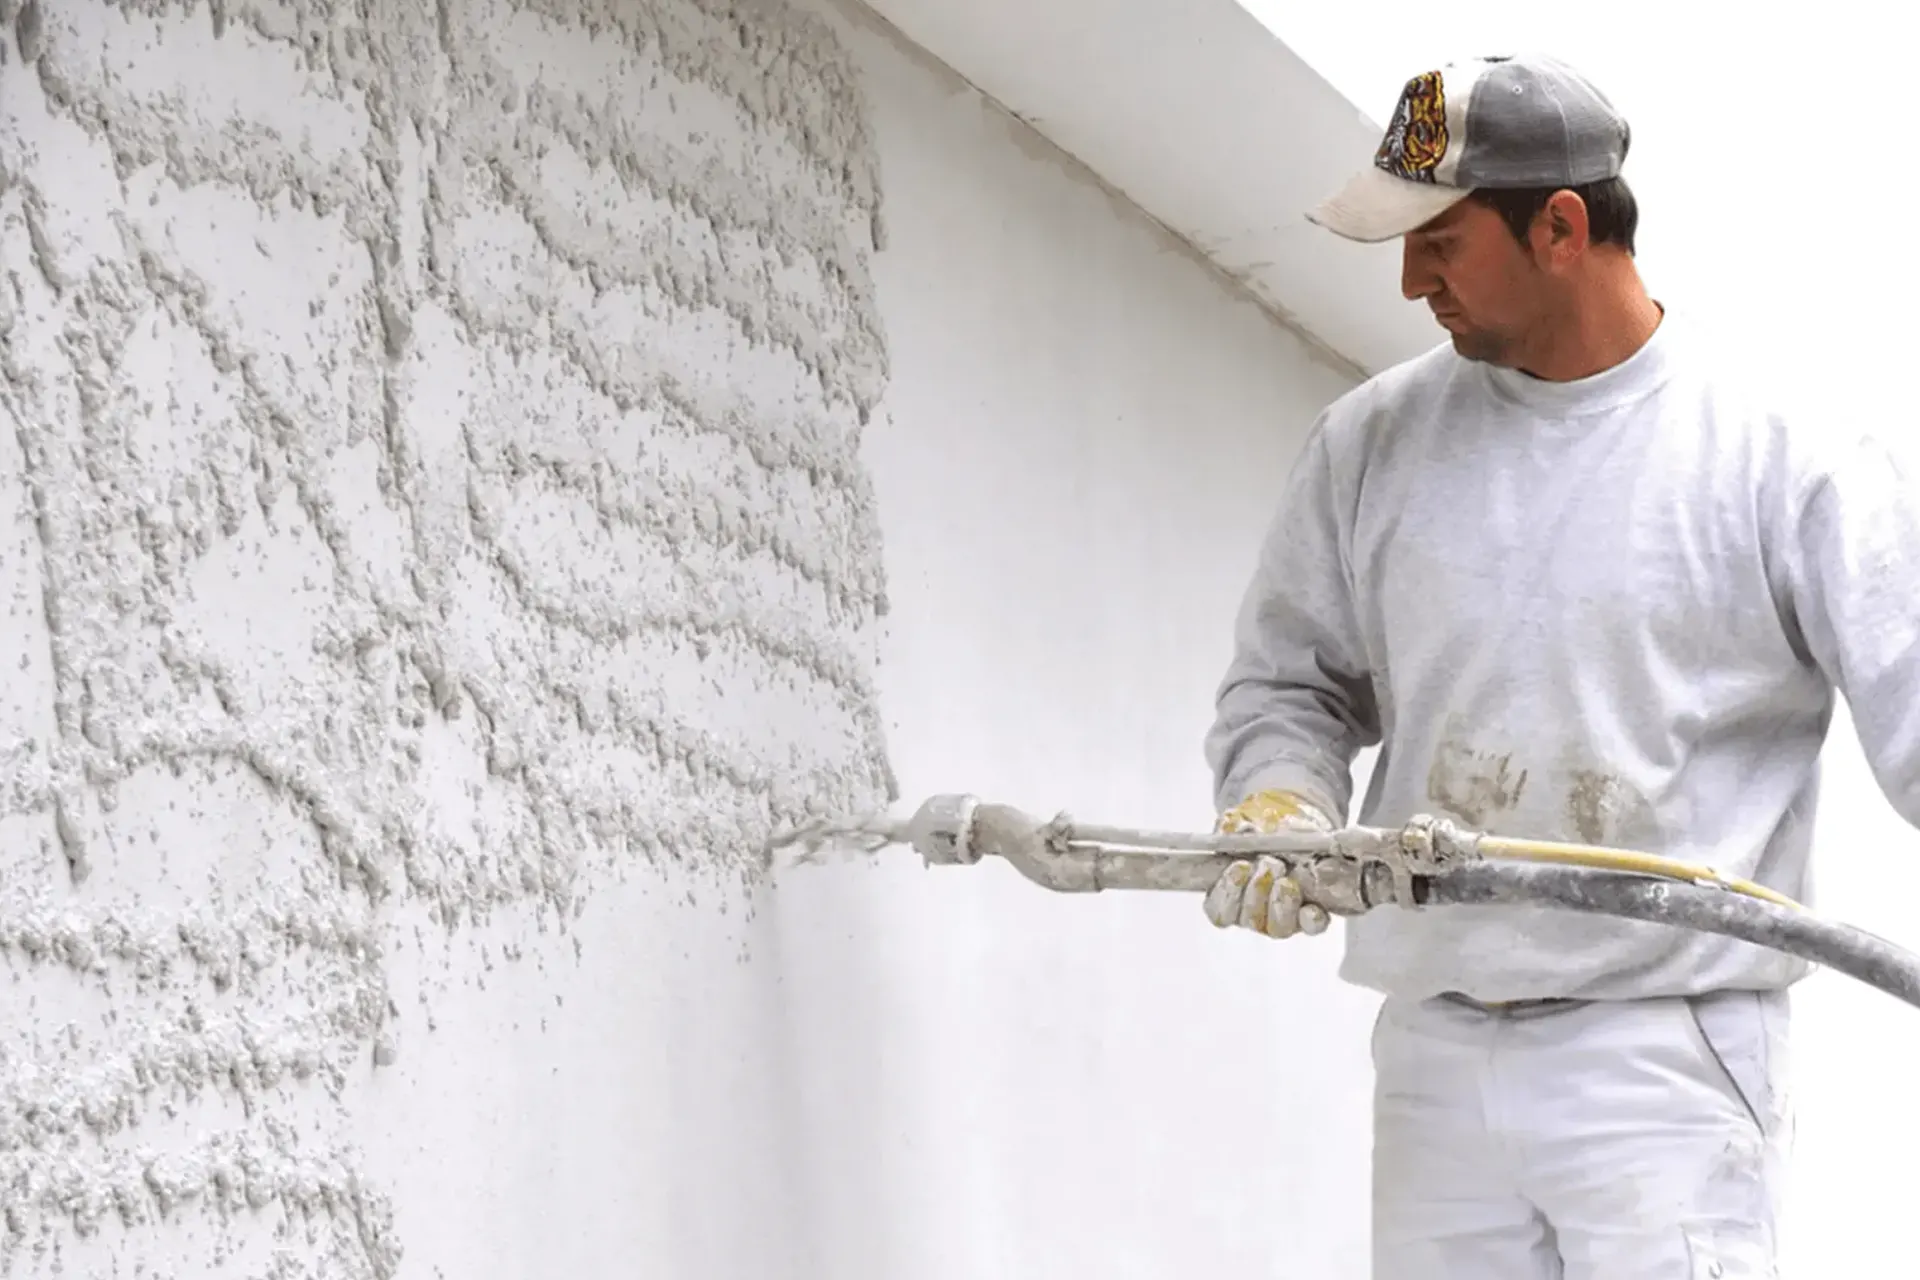
  4. Applying the solution: The finished solution is fed through a hose to the sprayer and applied evenly to the wall. The operator adjusts the layer thickness and controls the application process.
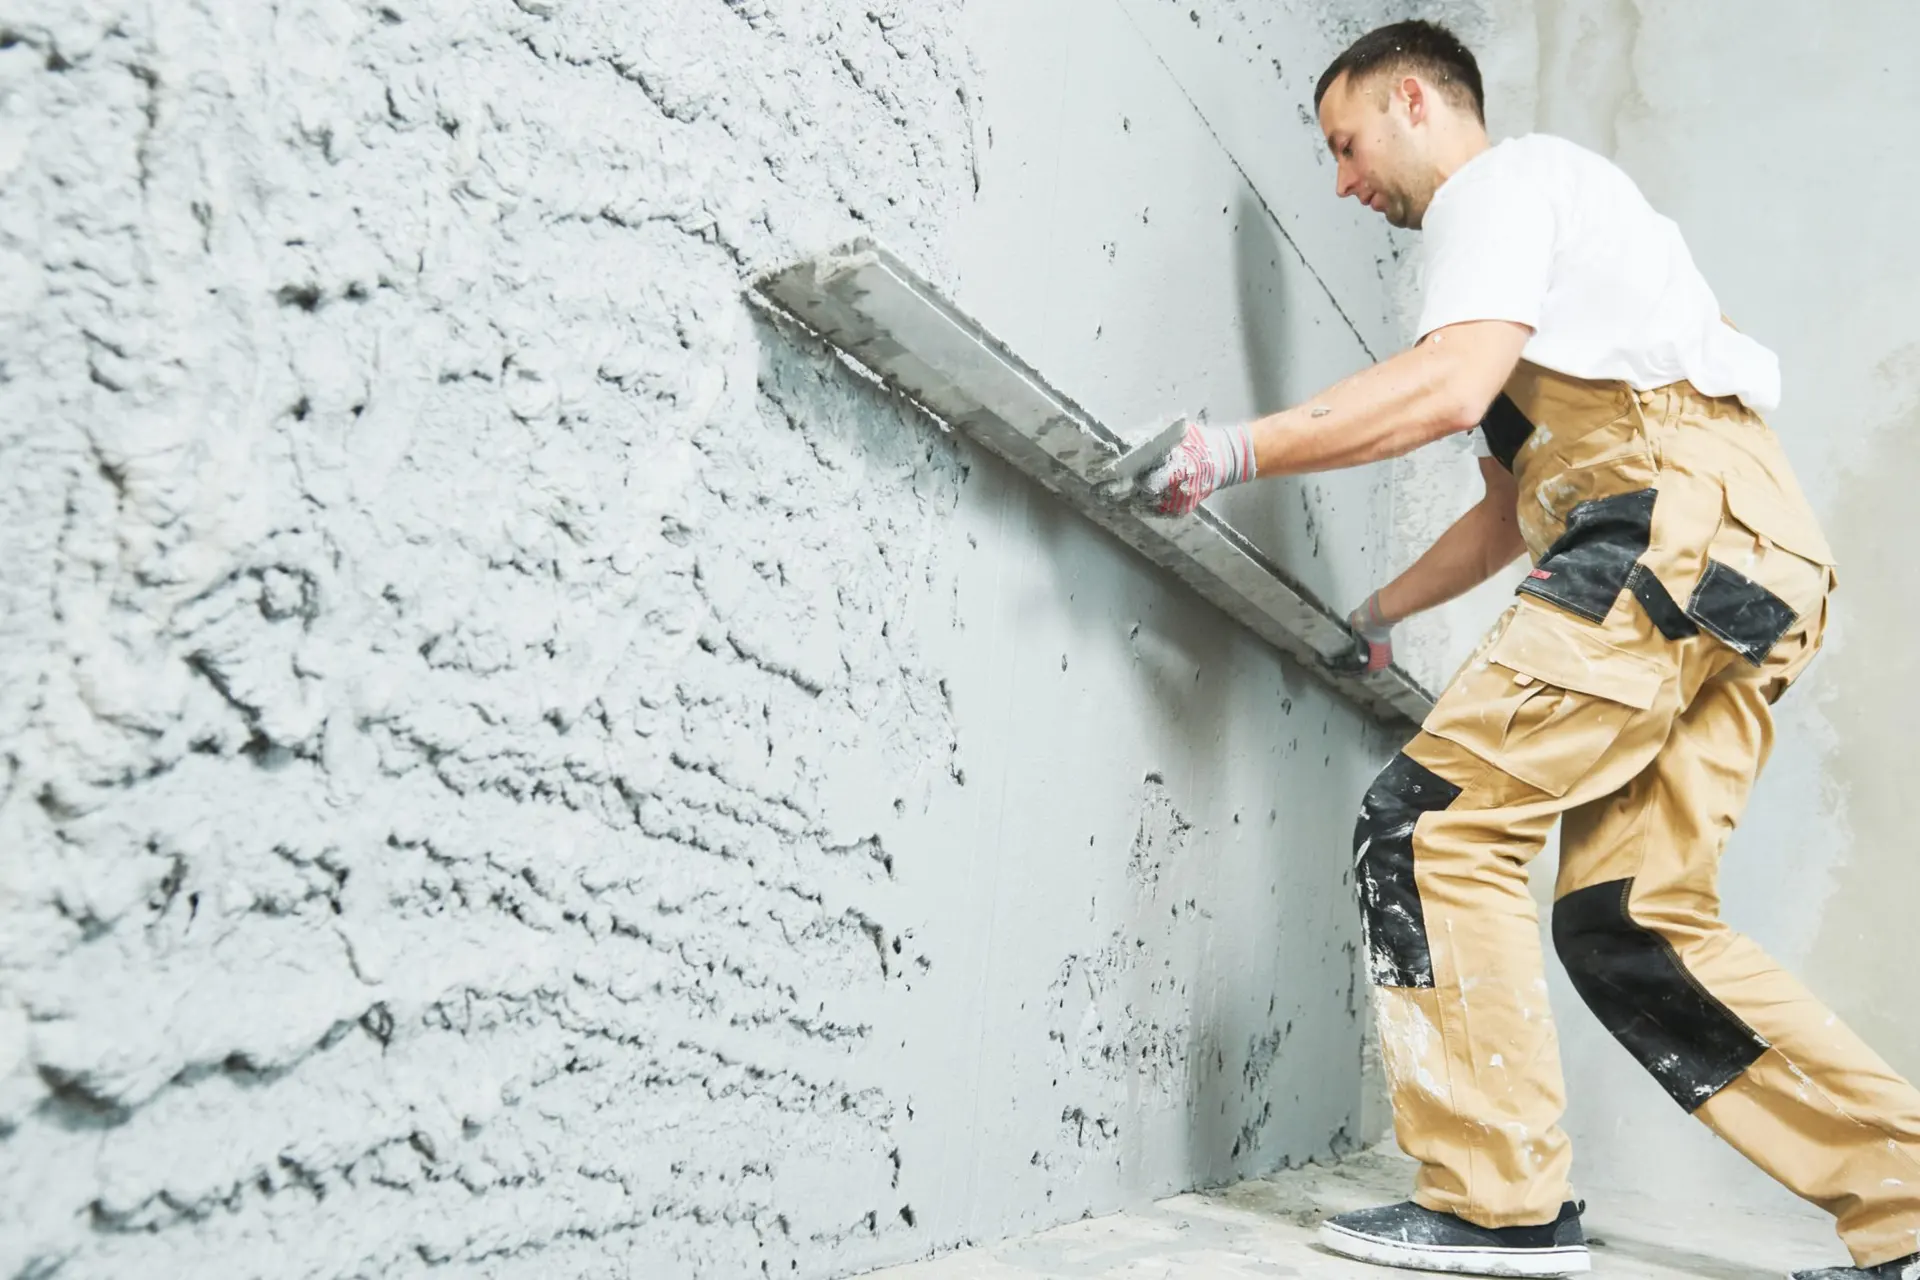
  5. Layer Alignment: After applying the mortar, the surface is leveled using rules and spatulas to ensure smoothness and even surface finish.
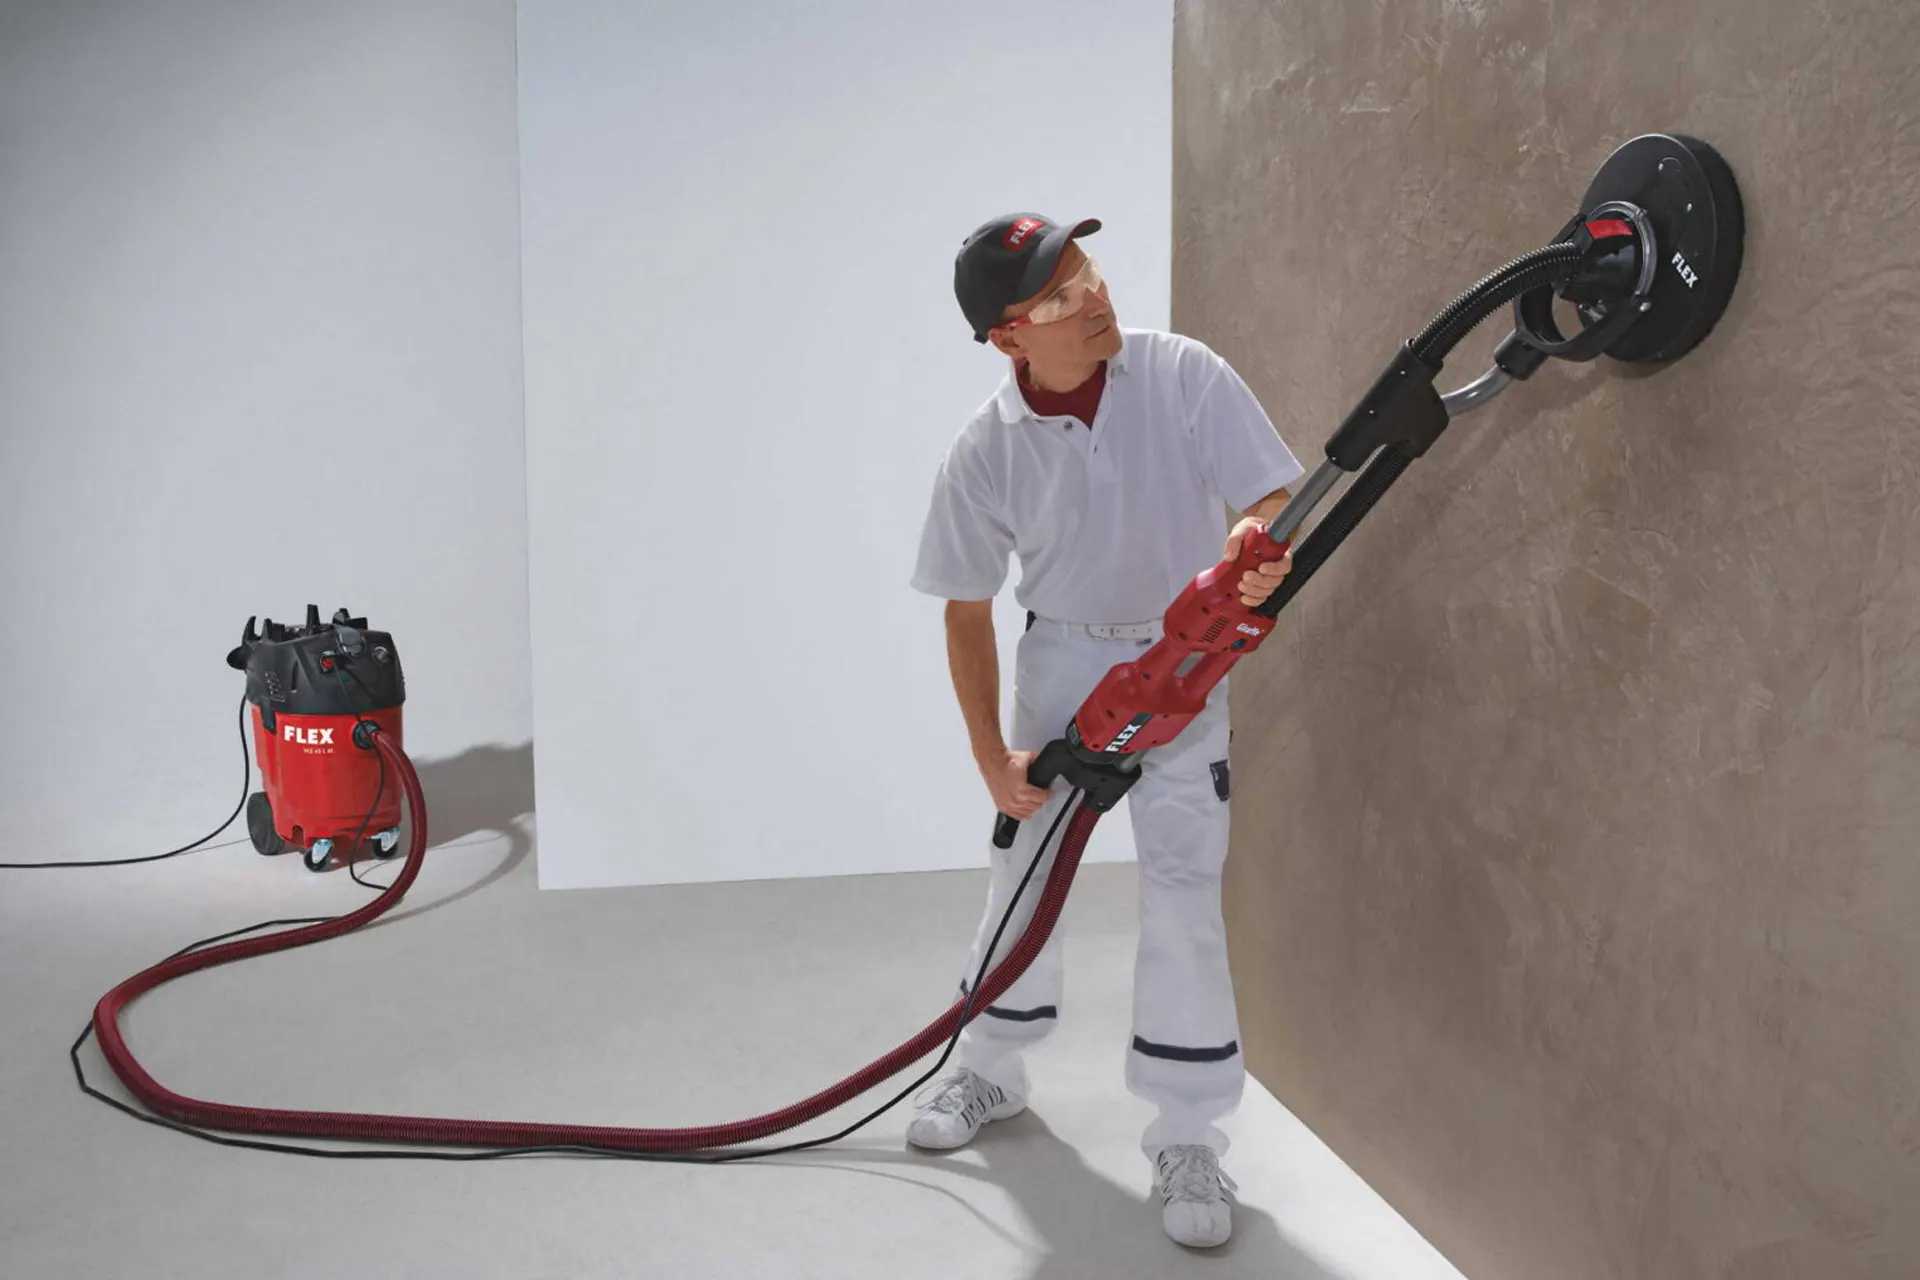
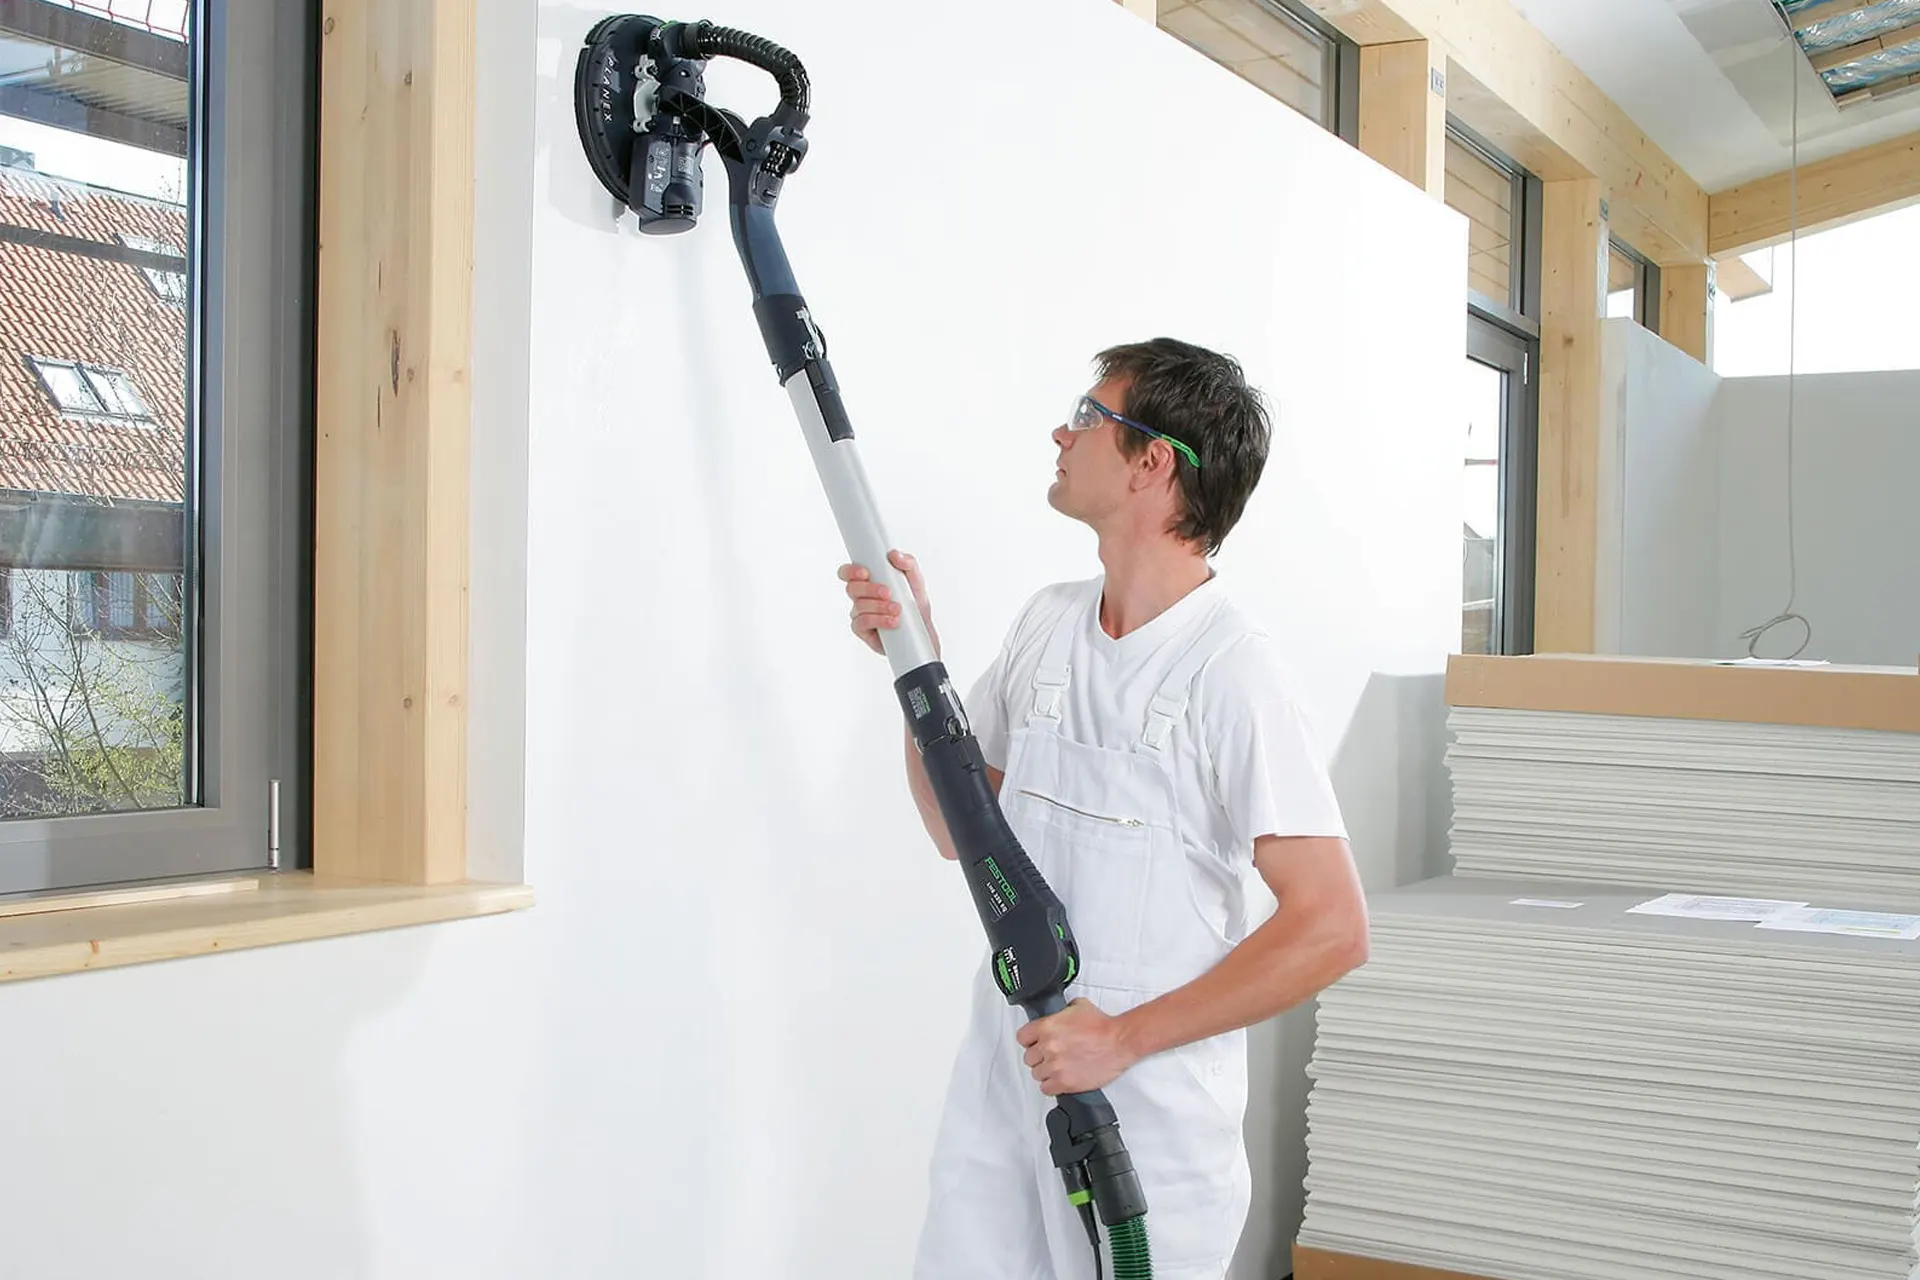
  6. Grout: After the plaster has dried, the surface is additionally rubbed to remove small irregularities and obtain a perfect smoothness.

5. Types of plastering machines

Plastering machines come in various types, depending on the method of feeding and applying the mortar:

  1. Pneumatic machines: Use compressed air to feed the solution through a spray gun. They are characterized by high productivity and are used for processing large areas.
  2. Hydraulic machines: The solution is supplied by a hydraulic pump. These machines are less noisy and can be used indoors.
  3. Electric machines: Powered by an electric motor and suitable for use in facilities with access to electricity.
  4. Mechanical machines: Use mechanical drives to supply the solution. They are used in conditions of limited access to electricity and compressed air.

6. Selection of materials for mechanized plaster

When choosing materials for mechanized plaster, it is necessary to take into account the type of surface, operating conditions and requirements for the final coating. The main types of plaster mixes are:

  1. Cement mixes: Suitable for outdoor and high humidity applications. They have high strength and water resistance.
  2. Gypsum mixes: Suitable for indoor use in dry areas. They are characterized by good ductility and high drying rate.
  3. Polymer mixtures: They have improved adhesion properties and can be applied to various types of surfaces, including complex and smooth ones.

7. Features and recommendations for working with mechanized plaster

When working with mechanized plaster, it is necessary to take into account a number of features and follow certain recommendations:

  1. Maintaining equipment cleanliness: After the machine is finished, it must be thoroughly cleaned of any remaining mortar to avoid clogging and damage to the machinery.
  2. Mixture quality control: The dry mix must be homogeneous and free of lumps. The water used to prepare the mortar must be clean and meet the requirements of building codes.
  3. Correct application: The mortar should be applied evenly, avoiding gaps and congestion in individual sections of the wall. The optimal layer thickness is determined by the type of mixture and operating conditions.
  4. Compliance with safety regulations: When working with the machine, it is necessary to use protective equipment-glasses, gloves, hard hats. Electrical and hydraulic machines must be operated in accordance with the manufacturer's instructions.

Conclusion

Механизированная штукатурка стен в Бобруйске – это современная технология, которая значительно упрощает и ускоряет процесс отделки помещений, улучшает качество покрытия и снижает затраты на материалы и труд. Использование штукатурных машин позволяет добиться высокого уровня автоматизации работ, что особенно важно на крупных строительных объектах и при выполнении отделочных работ в сжатые сроки. Соблюдение рекомендаций и правил эксплуатации оборудования гарантирует долговечность и эстетическую привлекательность готовых поверхностей.

FAQ

Frequently Asked questions and answers.

Comparing the cost of manual and mechanized plaster depends on several factors, including the amount of work, materials used, and regional prices for services. However, general trends show the following:

Manual plastering

  1. Labor costs: Usually lower, especially for small work volumes.
  2. Lead Time: Longer, which may increase overall labor costs.
  3. Material consumption: Possibly larger due to human factors and less accurate dosing.

Mechanized plaster

  1. Equipment cost: Higher due to the need to rent or buy a plaster station and other specialized tools.
  2. Lead Time: Significantly faster, which reduces labor costs.
  3. Material consumption: More economical due to precise dosing and even application.

Conclusion

With large volumes of work, mechanized plaster often turns out to be cheaper due to saving time and materials. For smaller projects, hand-plastering may be more economical, despite taking longer to complete.
The time required to complete mechanized plastering depends on several factors, including surface area, project complexity, foundation readiness, and team professionalism. However, on average, the following time frames can be distinguished:

General time frame

  1. Surface preparation:
    • Cleaning, removal of defects, application of a primer.
  2. Installing beacons:
    • Install and check beacons to control the layer thickness.
  3. Solution preparation and application:
    • Preparation of mortar, setting up equipment, applying plaster.
  4. Surface alignment:
    • Alignment of the applied solution, elimination of excess material.
  5. Finishing treatment:
    • Smooth surface treatment, preparation for further finishing.

Calculation example

For a room with an area of 100 m2, mechanized plaster can be completed in 1 day, taking into account all stages of work.

Comparison with manual plaster

For comparison, the same amount of work with manual plastering can take 10-15 days, which makes the mechanized method much faster.

Conclusion

Mechanized plaster can significantly reduce the time required to complete work compared to the manual method, while ensuring high quality and uniformity of the coating.
After mechanized plastering, the walls do not always require putty, but this depends on the desired level of smoothness and finish. Let's consider several scenarios::

When putty is needed:

  1. Perfectly smooth surface:
    • If a perfectly smooth surface is required for painting or thin wallpaper, then a thin layer of putty may be required after plastering. This will help eliminate minor defects and bumps.
  2. Decorative coatings:
    • When using decorative coatings, such as glossy paint or thin wallpaper, it is recommended to apply putty to achieve the best result.

When putty may not be needed:

  1. Rough or textured coatings:
    • If you plan to use textured wallpaper or decorative plaster, then putty may not be necessary. Mechanized plaster provides a fairly flat surface for such materials.
  2. Save time and resources:
    • In projects where saving time and resources is more important than perfect smoothness, you can do without putty, especially if the quality of mechanized plaster is high.

Conclusion

Putty after mechanized plaster is necessary if it is necessary to achieve a perfectly smooth surface, especially for painting or thin wallpaper. In other cases, for example, when using texture coatings, you can do without additional putty. The solution depends on the requirements for the final coating and the condition of the applied plaster.
Yes, ceilings can be plastered in a mechanized way. This method has its own characteristics and requires certain skills and training, but it provides the same advantages as with mechanized wall plastering.

Advantages of mechanized ceiling plastering

  1. Execution speed:
    • Mechanized plastering can significantly reduce the working time compared to the manual method.
  2. Coverage quality:
    • The use of plaster stations ensures a uniform distribution of the solution over the ceiling surface, which contributes to a smooth and even coating.
  3. Saving materials:
    • Precise dosing and uniform application of the solution reduces material consumption and waste.
  4. Reduced labor costs:
    • The mechanized method reduces the physical load on workers, which is important when working on ceilings, where labor costs are usually higher.

The process of mechanized ceiling plastering

  1. Surface preparation:
    • Clean the ceiling of old finishes, dust and dirt.
    • Fill cracks and potholes with suitable material.
    • Treat the surface with a primer to improve adhesion.
  2. Installing beacons:
    • To control the thickness of the plaster layer and ensure the evenness of the coating, install beacons in increments of about 1 meter.
  3. Preparation of the solution:
    • In the plaster station, a mortar is prepared, which is fed to the ceiling under pressure. It is important to choose the correct composition of the mixture, taking into account the type of substrate and operating conditions.
  4. Applying plaster:
    • With the help of a plaster station, the solution is applied to the ceiling under pressure. The operator distributes the mixture evenly by moving the nozzle of the station in different directions to achieve a uniform coating.
  5. Surface alignment:
    • After applying the mortar, the surface is leveled using rules and trowels to eliminate excess material and create a smooth surface.
  6. Finishing treatment:
    • At the final stage, the surface is treated with a spatula and a sponge grater to give it a final smoothness. After the plaster dries, you can start further finishing.

Conclusion

Mechanized ceiling plastering is an effective method that allows you to significantly speed up the finishing process, improve the quality of the coating and reduce labor costs. As in the case of mechanized wall plastering, the success of the work depends on proper surface preparation, accurate adherence to technological stages and the use of high-quality materials and equipment.
The service life of plaster can vary depending on a variety of factors, including the quality of materials, the professionalism of the work performed, the operating conditions and external influences. On average, plaster can last from 10 to 30 years. Let's take a closer look at what affects the durability of the plaster coating.

Factors affecting the service life of plaster

  1. Quality of materials:
    • The use of high-quality materials, such as good cement or gypsum mixes, significantly increases the service life of the plaster.
  2. Professionalism of execution:
    • Proper application, alignment and compliance with technological processes ensure the durability of the coating. Errors in the technology can lead to cracking and flaking.
  3. Preparation of the base:
    • Careful surface preparation before applying plaster is key. Cleaning, priming and removing defects increase adhesion and durability.
  4. Operating conditions:
    • Humidity, temperature fluctuations, and mechanical stress can shorten the service life of the plaster. Internal surfaces usually last longer than external ones.
  5. Type of plaster:
    • Cement-sand plaster is more resistant to moisture and mechanical influences than gypsum. Gypsum plaster, in turn, provides a better finish quality, but may be less durable in wet conditions.
  6. Care and maintenance:
    • Regular maintenance, elimination of cracks and minor defects, as well as maintaining a clean surface help to increase the service life.

Average durability indicators

  1. Interior walls:
    • Interior walls finished with high-quality plaster can last from 20 to 30 years with proper operation and maintenance.
  2. External walls:
    • Exterior plaster exposed to weather conditions can last from 10 to 20 years. The use of special additives and protective coatings can extend the service life.
  3. Special conditions:
    • In conditions of high humidity, aggressive environment or strong mechanical influences, the service life of plaster can be reduced to 10-15 years.

Conclusion

The durability of a plaster depends on many factors, including the quality of materials, professionalism of execution, preparation of the substrate, operating conditions and regular maintenance. On average, a high-quality plaster can last from 10 to 30 years. It is important to take these aspects into account when planning plastering works to ensure maximum service life of the coating.